Just got home from a fun filled day of wargaming at Williamsburg’s premier Wargaming Convention.
Today I hosted two games both using Too Fat Lardies rules. The first was “The Fall of France”, a Chain of Command game set in the early days of the German Blitzkrieg in 1940 and the second a Sharp Practice game set in the Peninsula War.
THE BATTLE FOR FRANCE
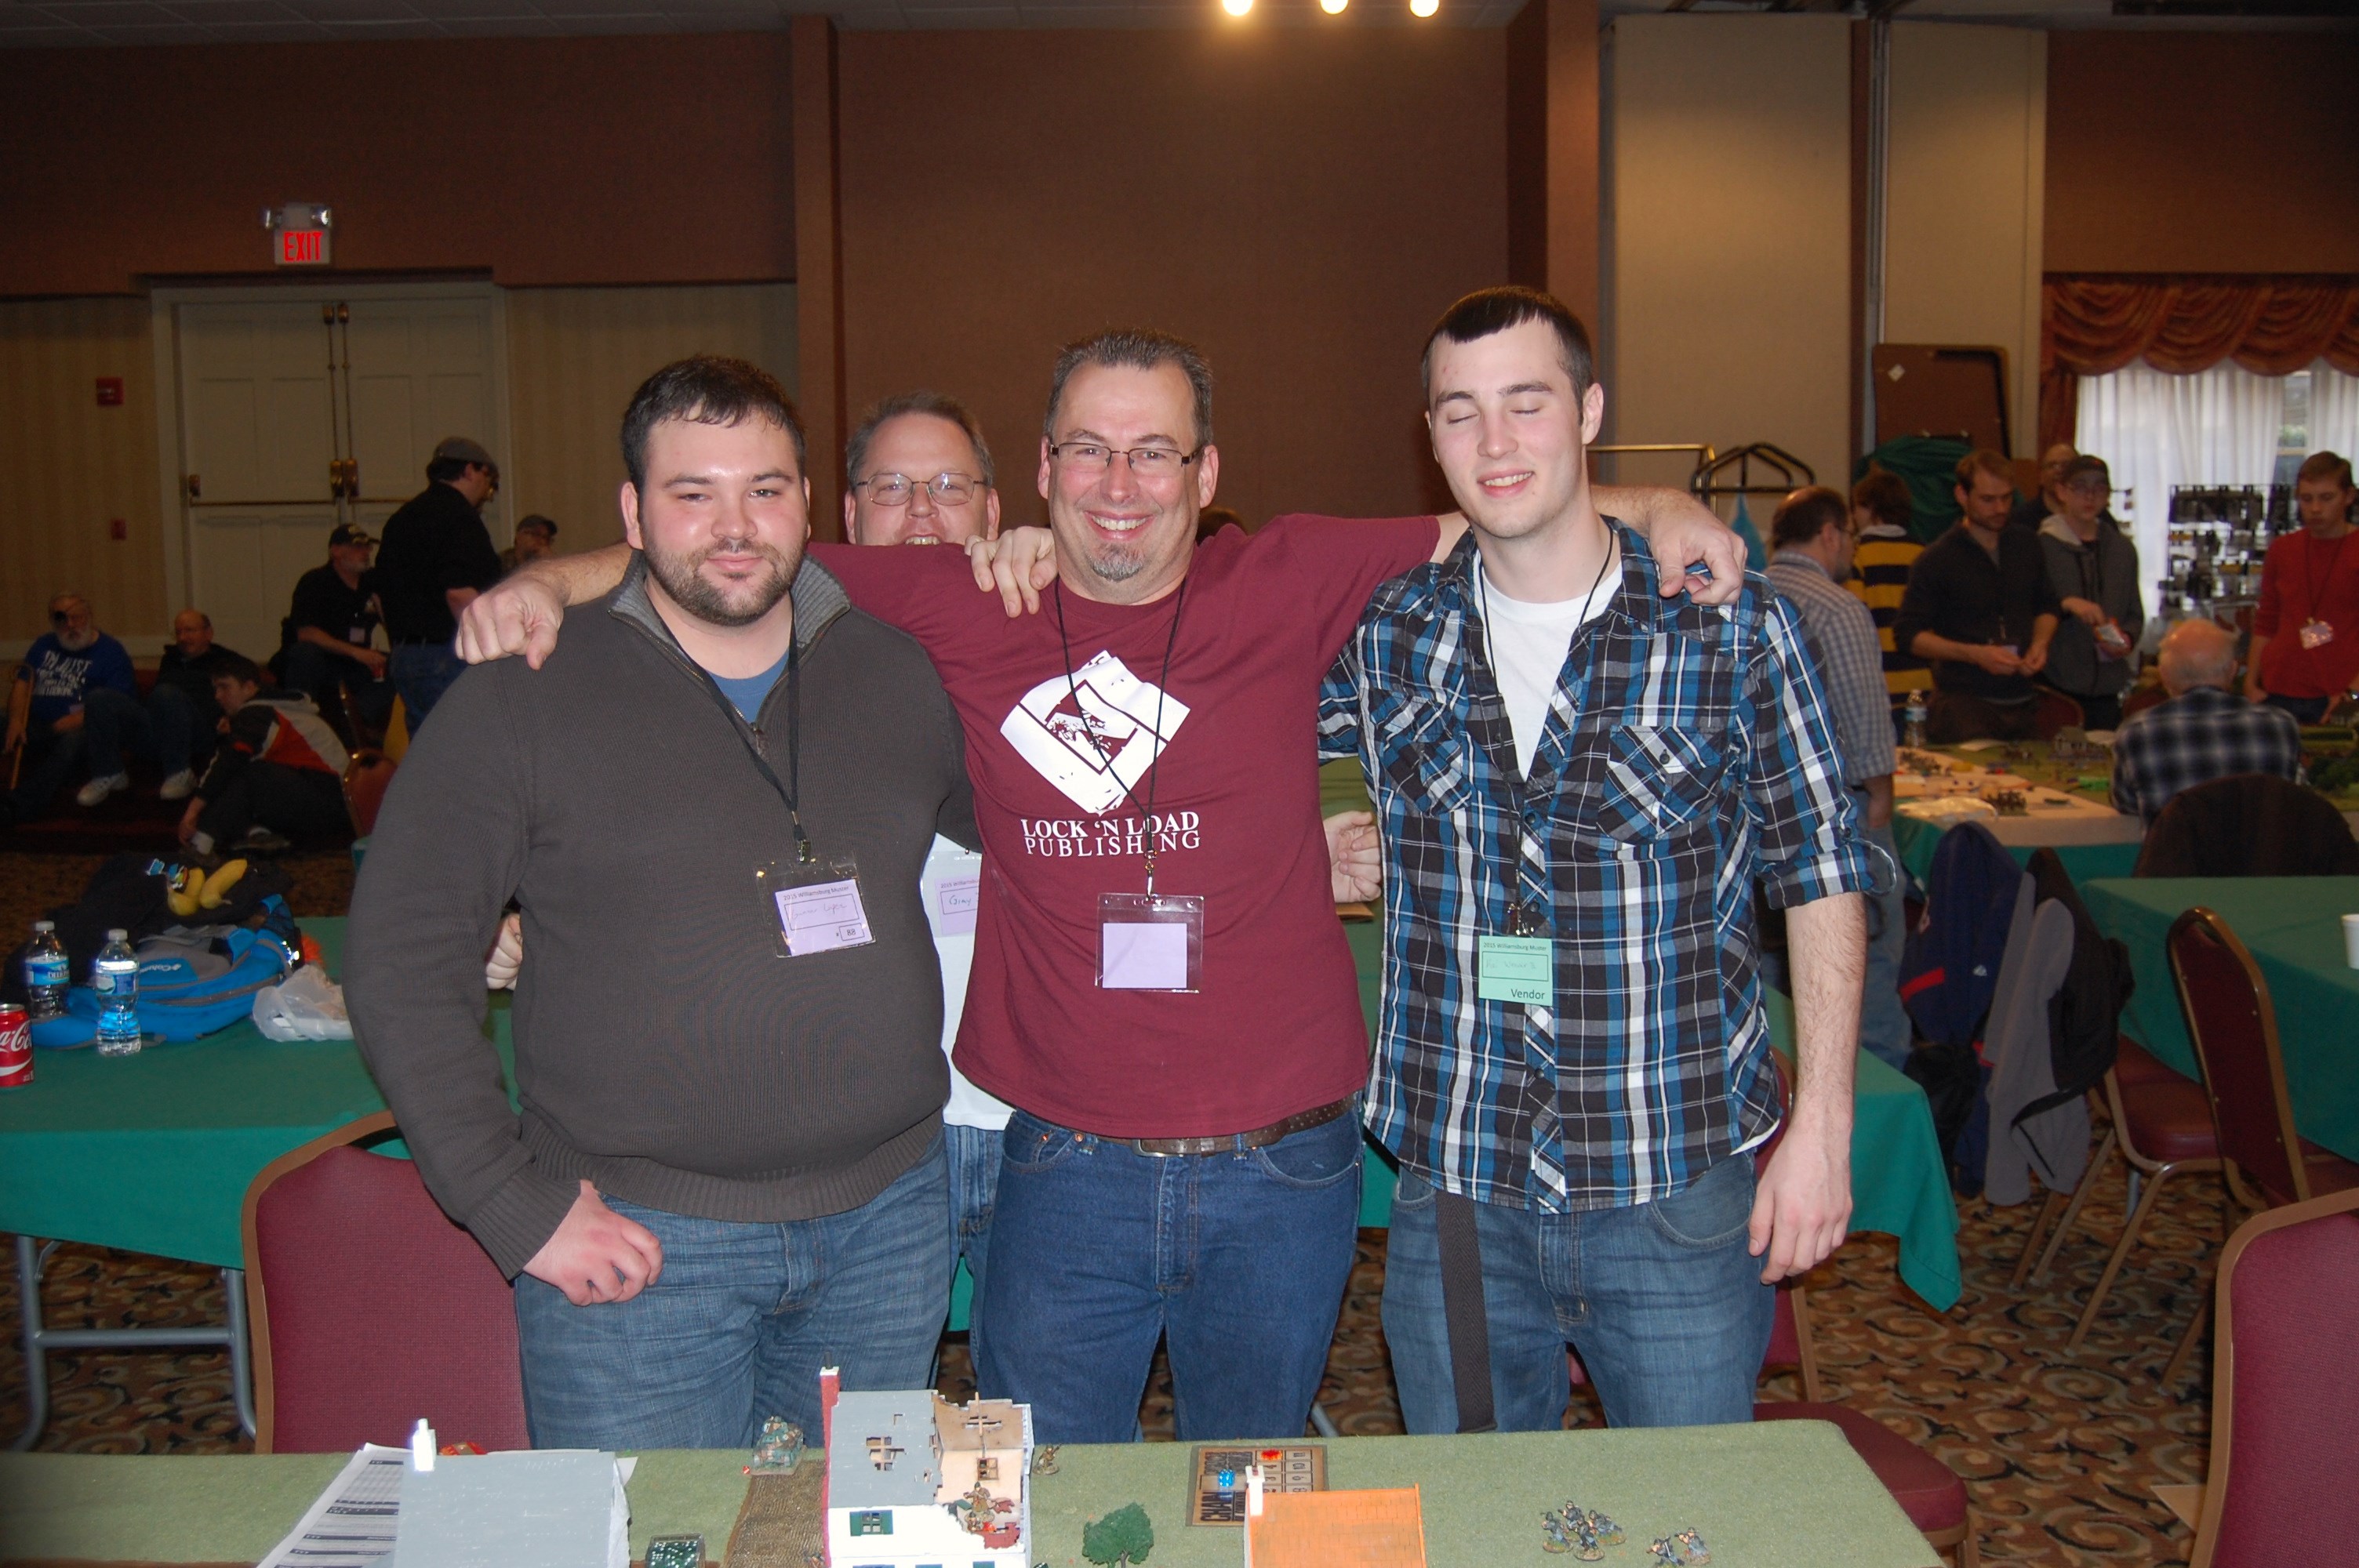
The first game was played by Charles, Kai, Grey and again Gunnar who had joined me the night before with the Spanish Civil War game.
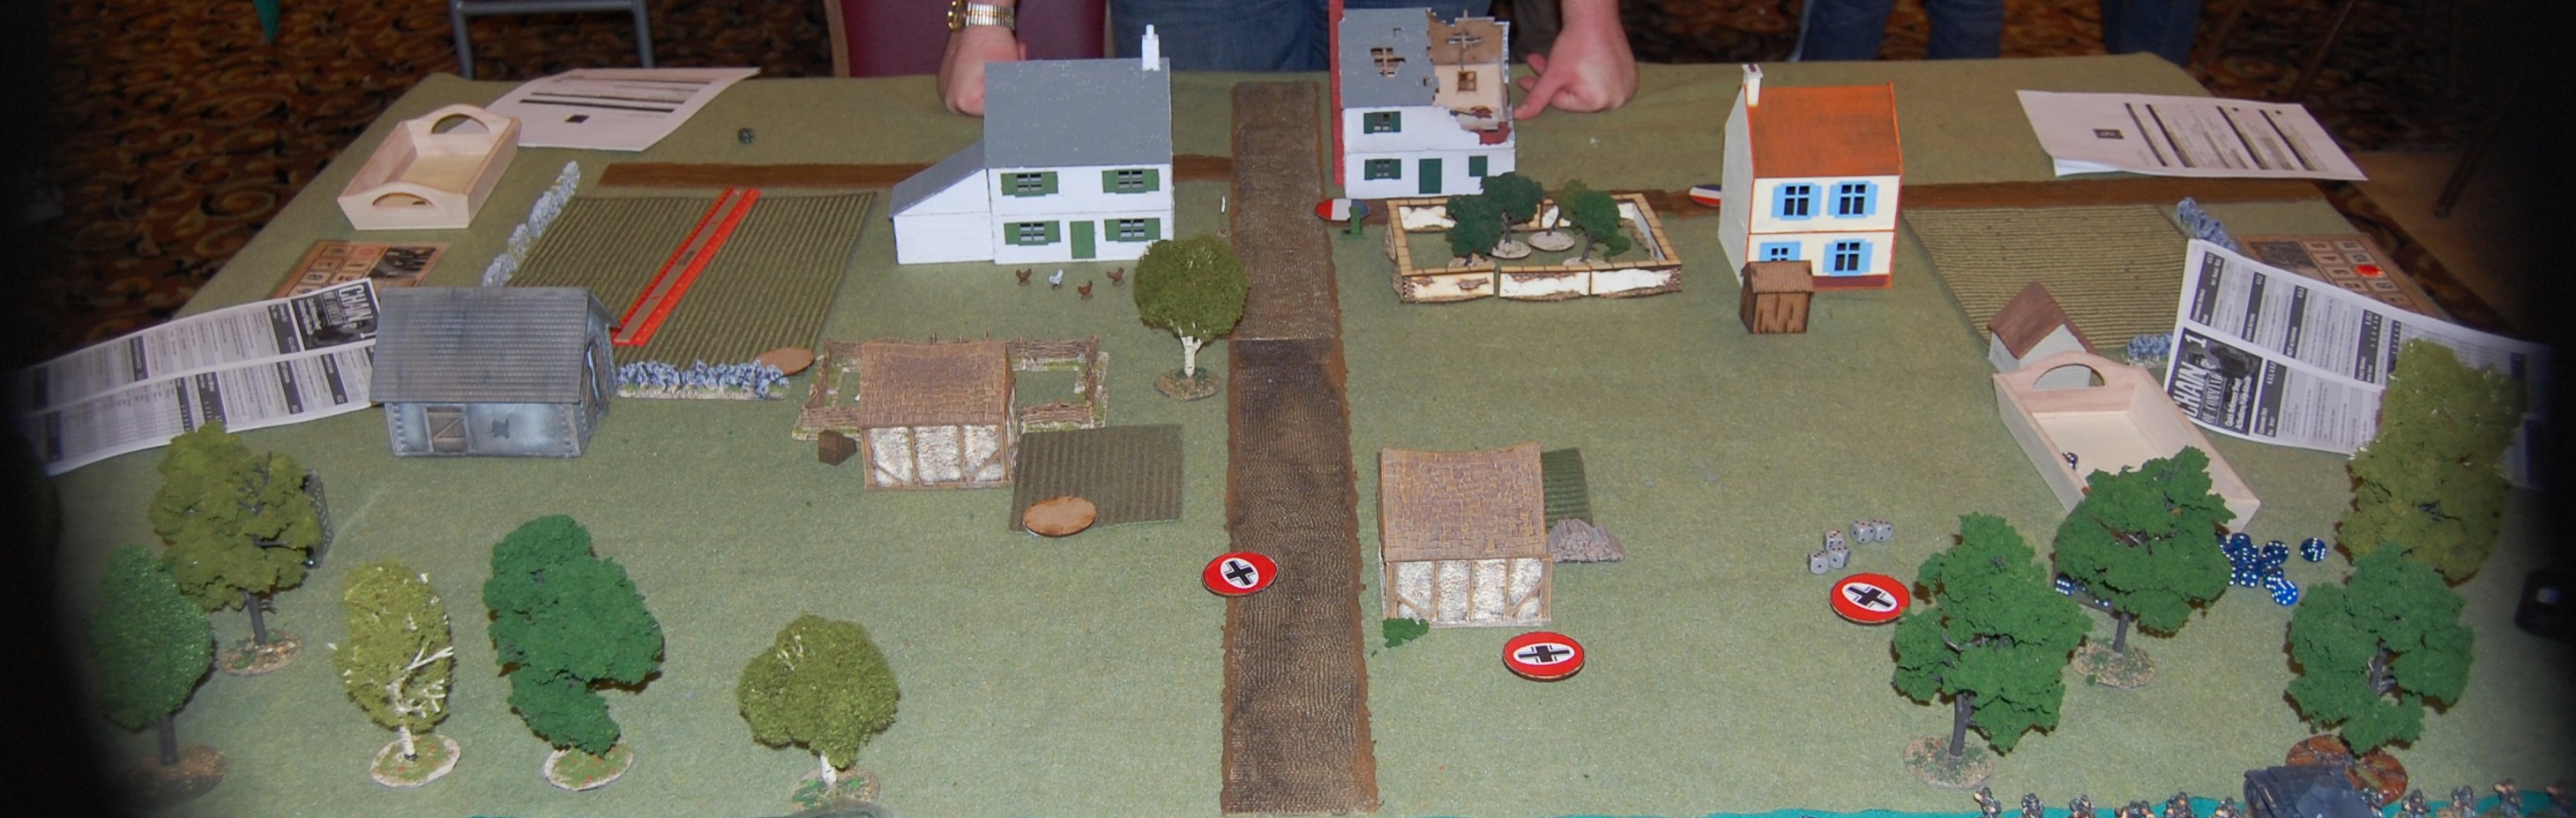
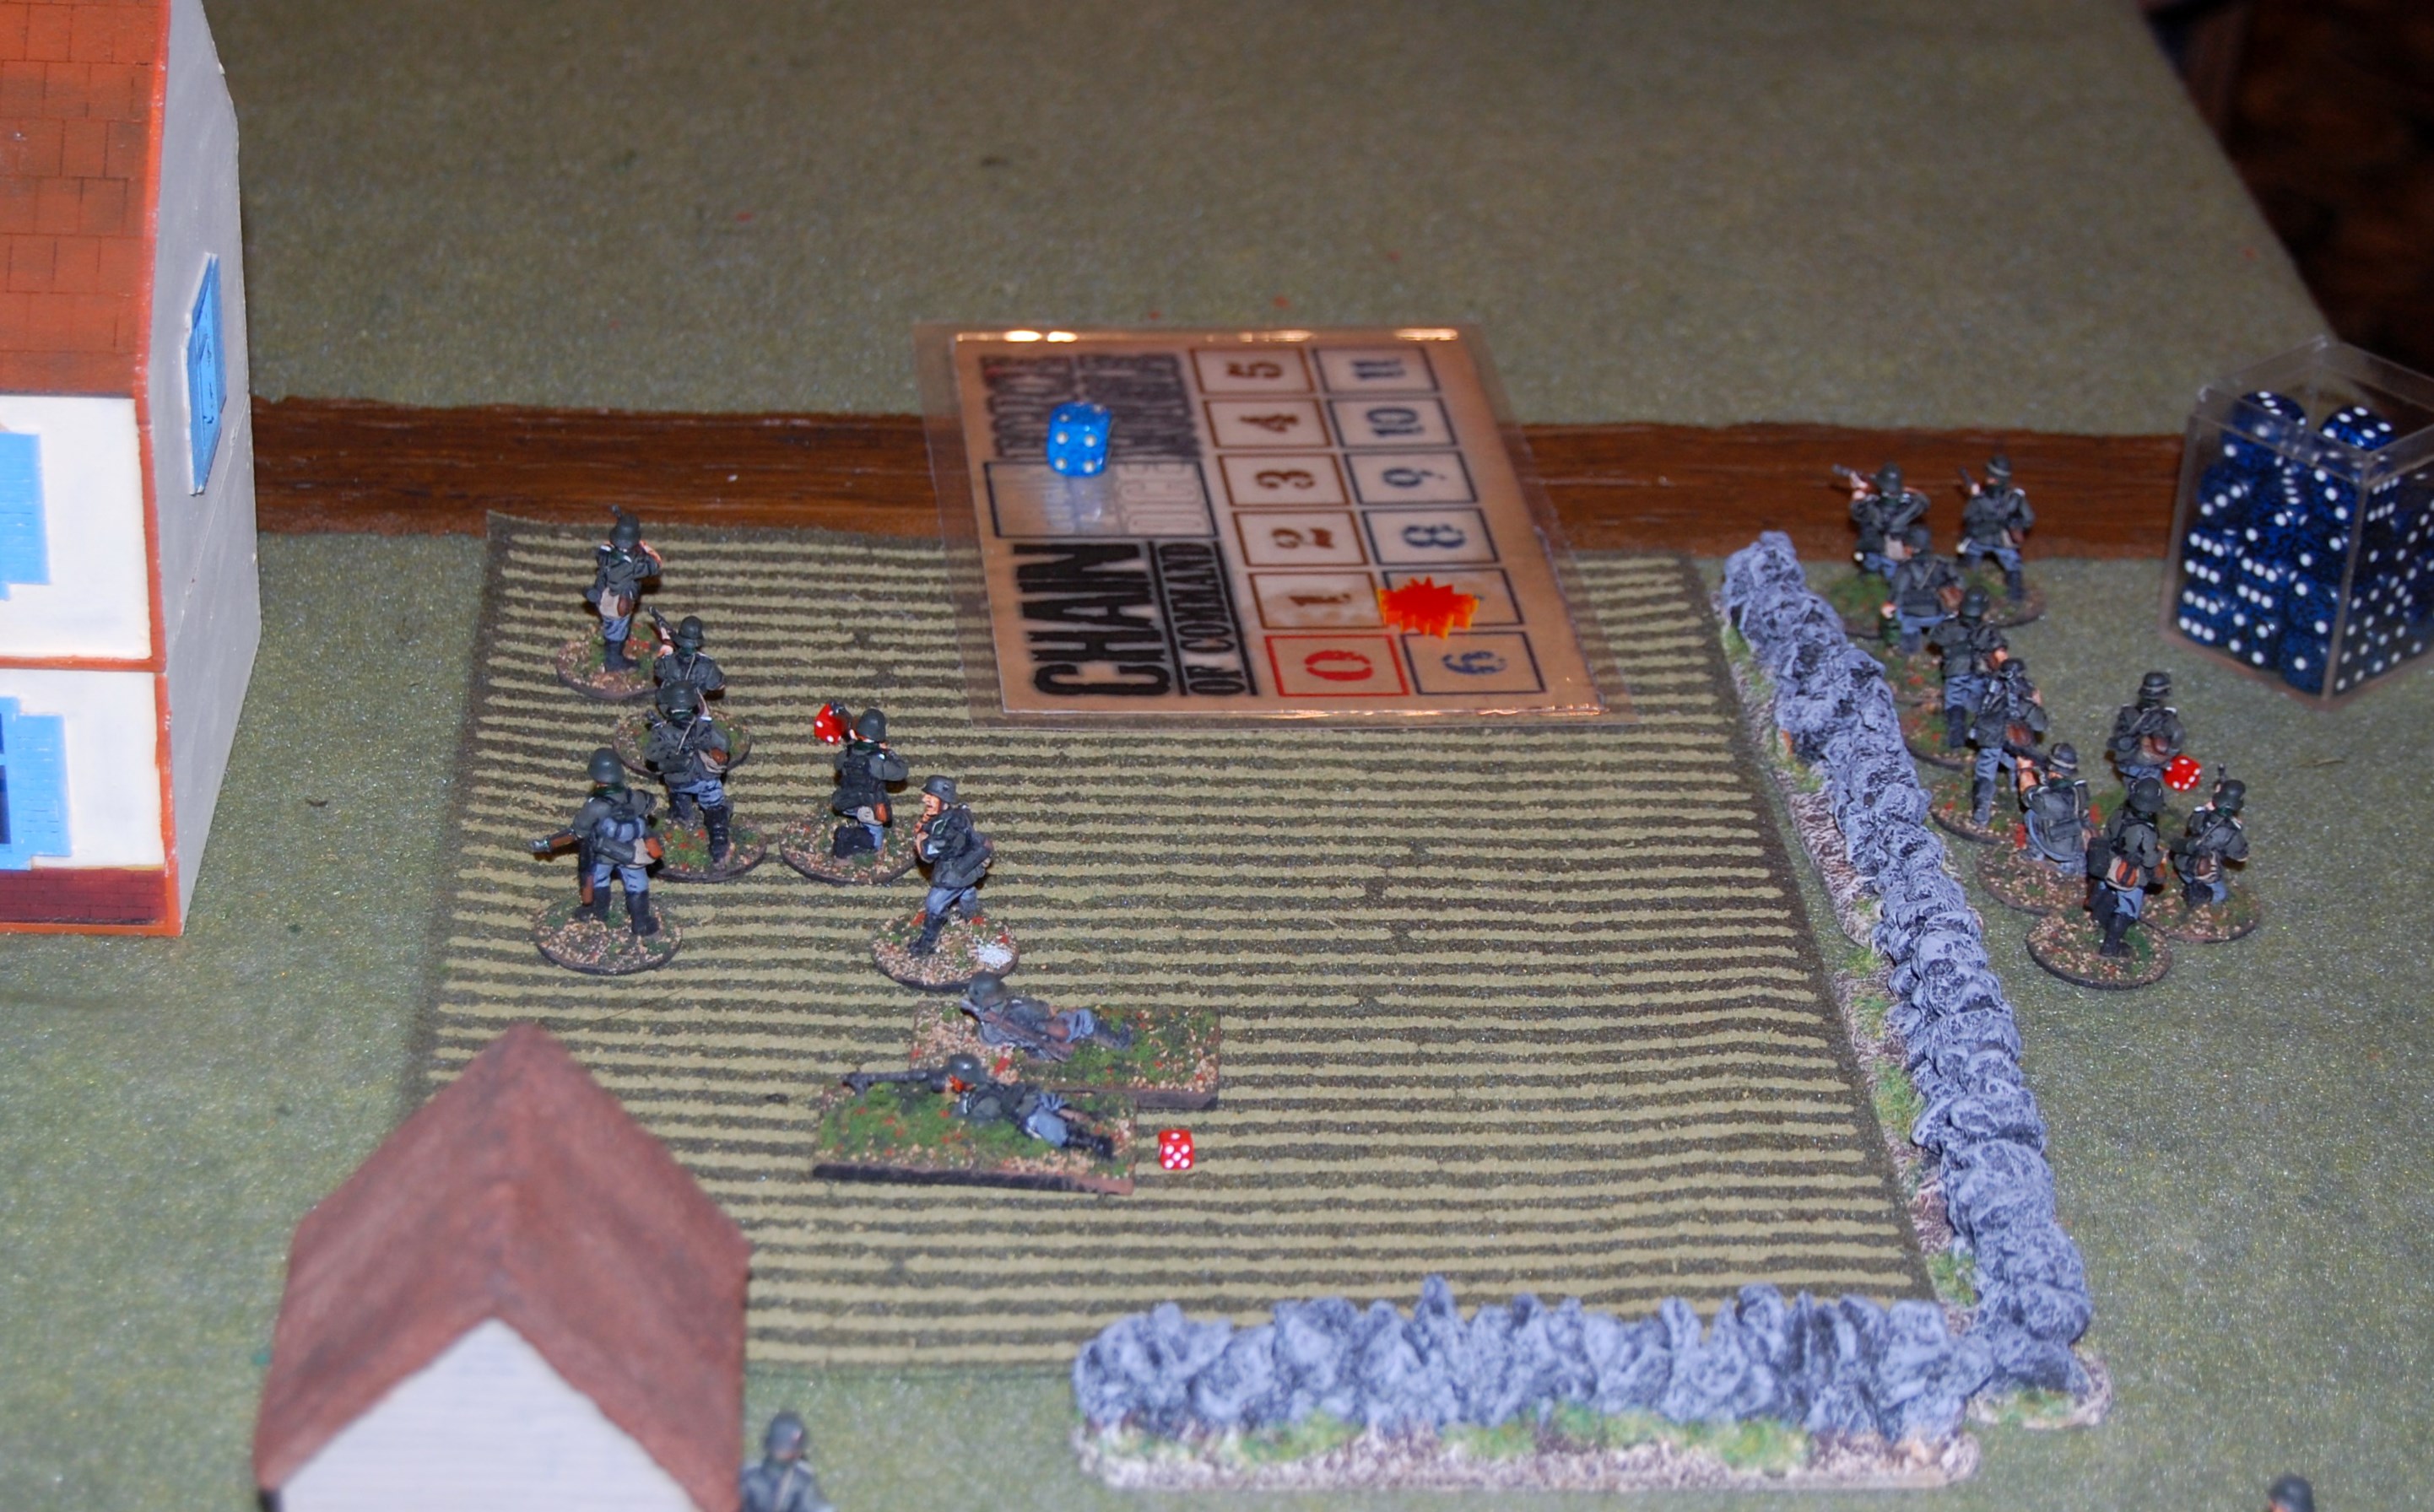
This first battle was an Attack and Defend scenario set in Belgium in the early days of the Battle For France. Gunnar and Grey played the French and rolled a very respectable 11 for Force Morale. Gunnar apparently can not roll low Force Morale scores! The would be supported by a 25mm AT gun and a Hotchkiss H39 tank. Both players had experience with the rules. The Germans on the other hand were commanded by Charles and Kai. Charles, the older of the two had some experience some time ago his nephew Kai had none. This was going to have an effect on the game. The Germans began the battle with a Force Morale of 9 and two vehicles, a Panzer 222 and a Panzer III. The Patrol phase began with the Germans gaining two preliminary moves.
The Patrol Phase who one of the places where the advantage of previous experience showed. The French outplayed their German opponents who found their markers locked down on the wrong side of the available cover and one of their markers ended up being negated by being behind all the others when the phase ended. The Germans would now need to cross into the open in order to close with their enemy.
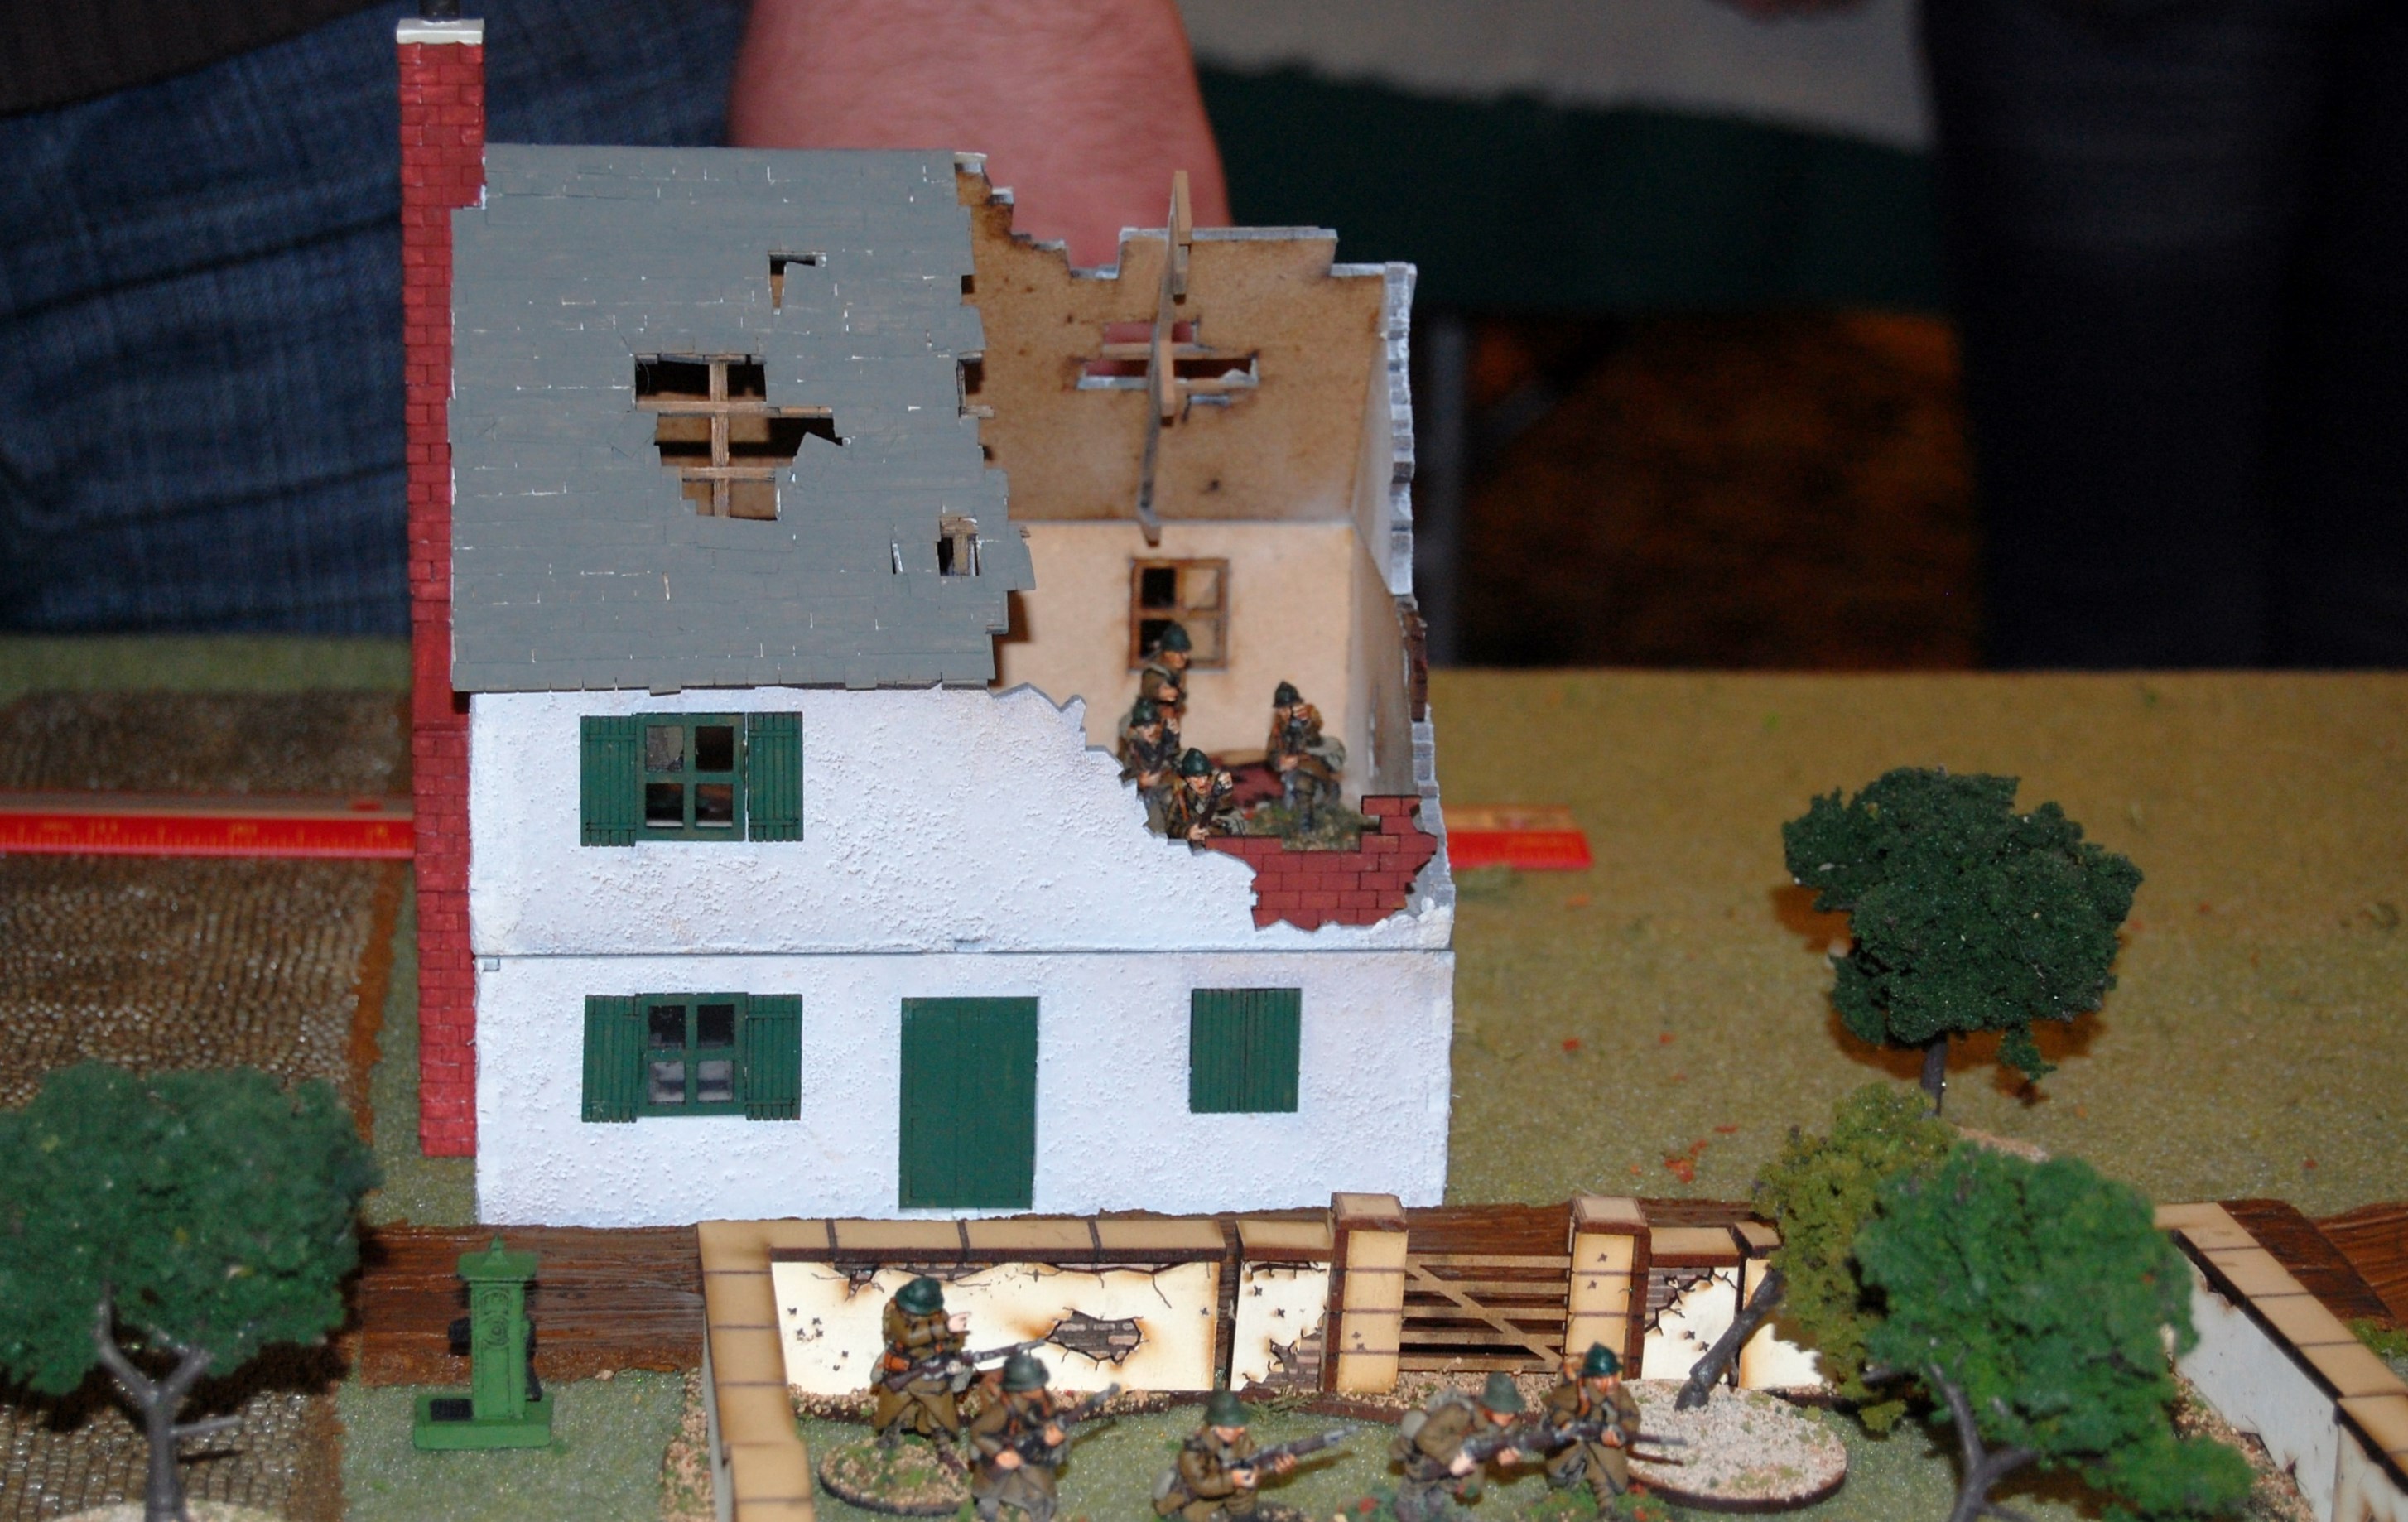
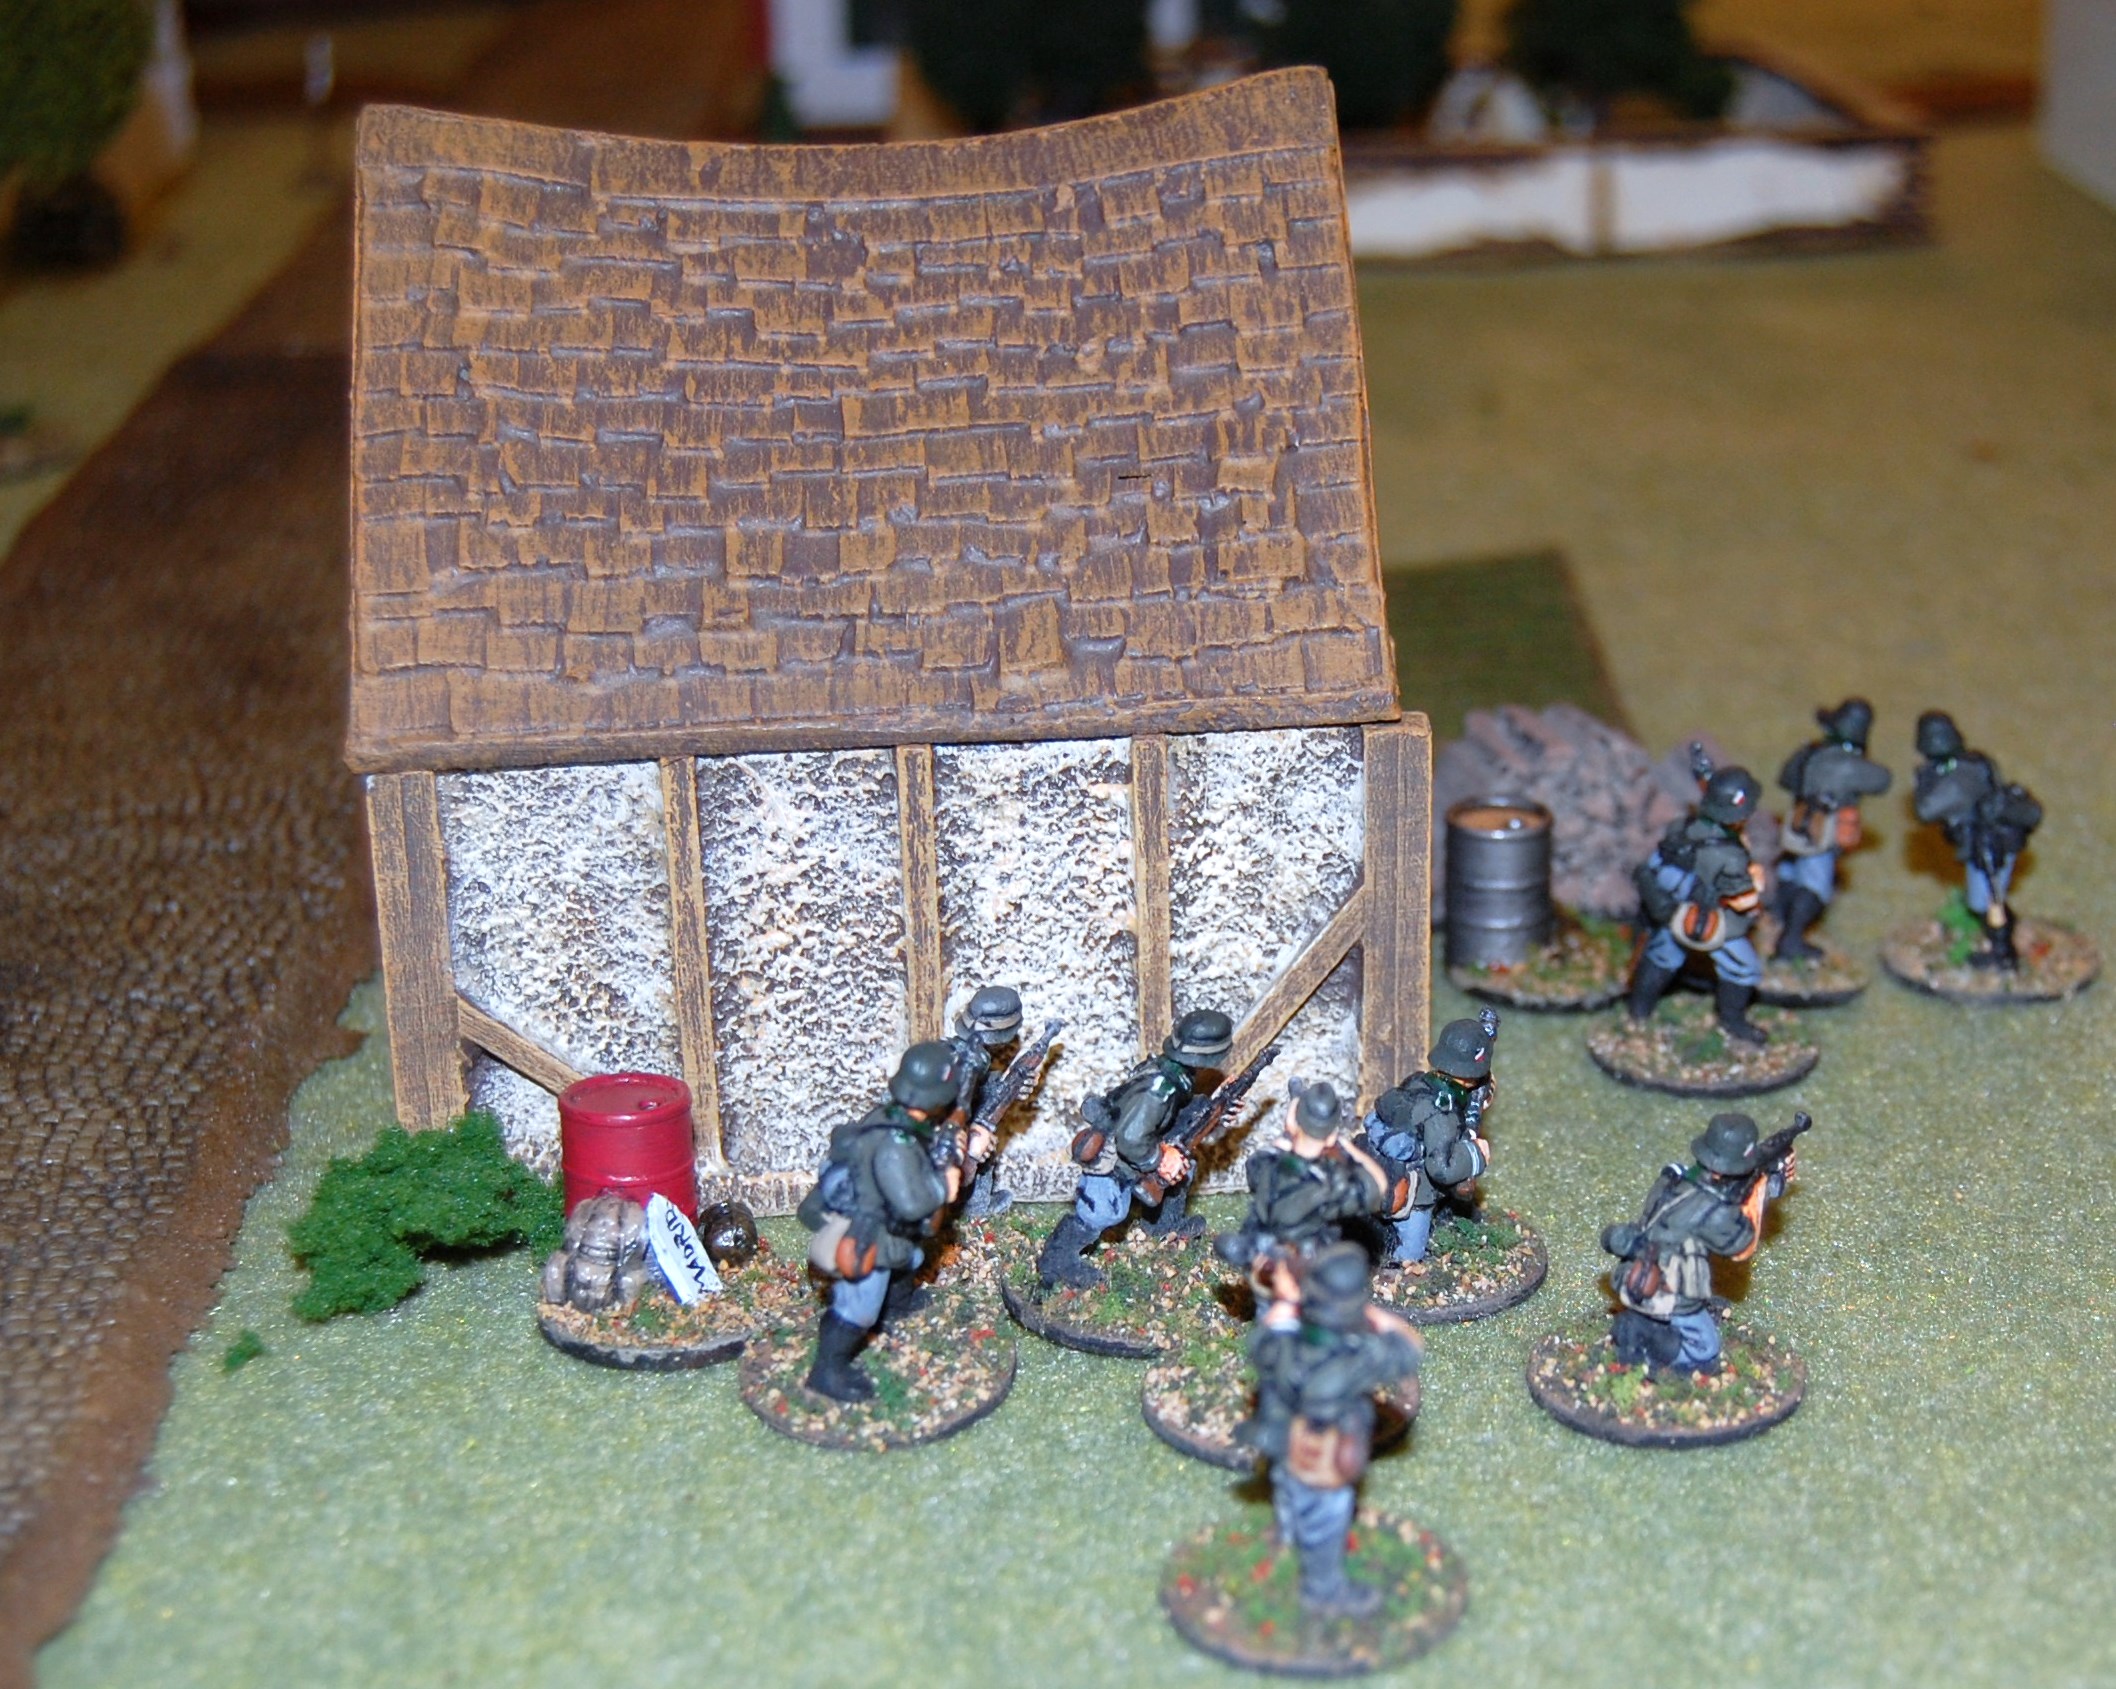
The French began and deployed one of their three sections into the walled field next to the stone barn. they also deployed their Rifle Grenadier team into the bombed out farmhouse along the road to Sedan. Section 2 secured the walled orchard just in front of the ruined farm house.
When the Germans began to deploy to the right if that road, with one Squad behind the Farm shed directly in from of them and two in the woods. They also deployed their granatewerfer team into the woods and tried in vain to silence the French grenades.
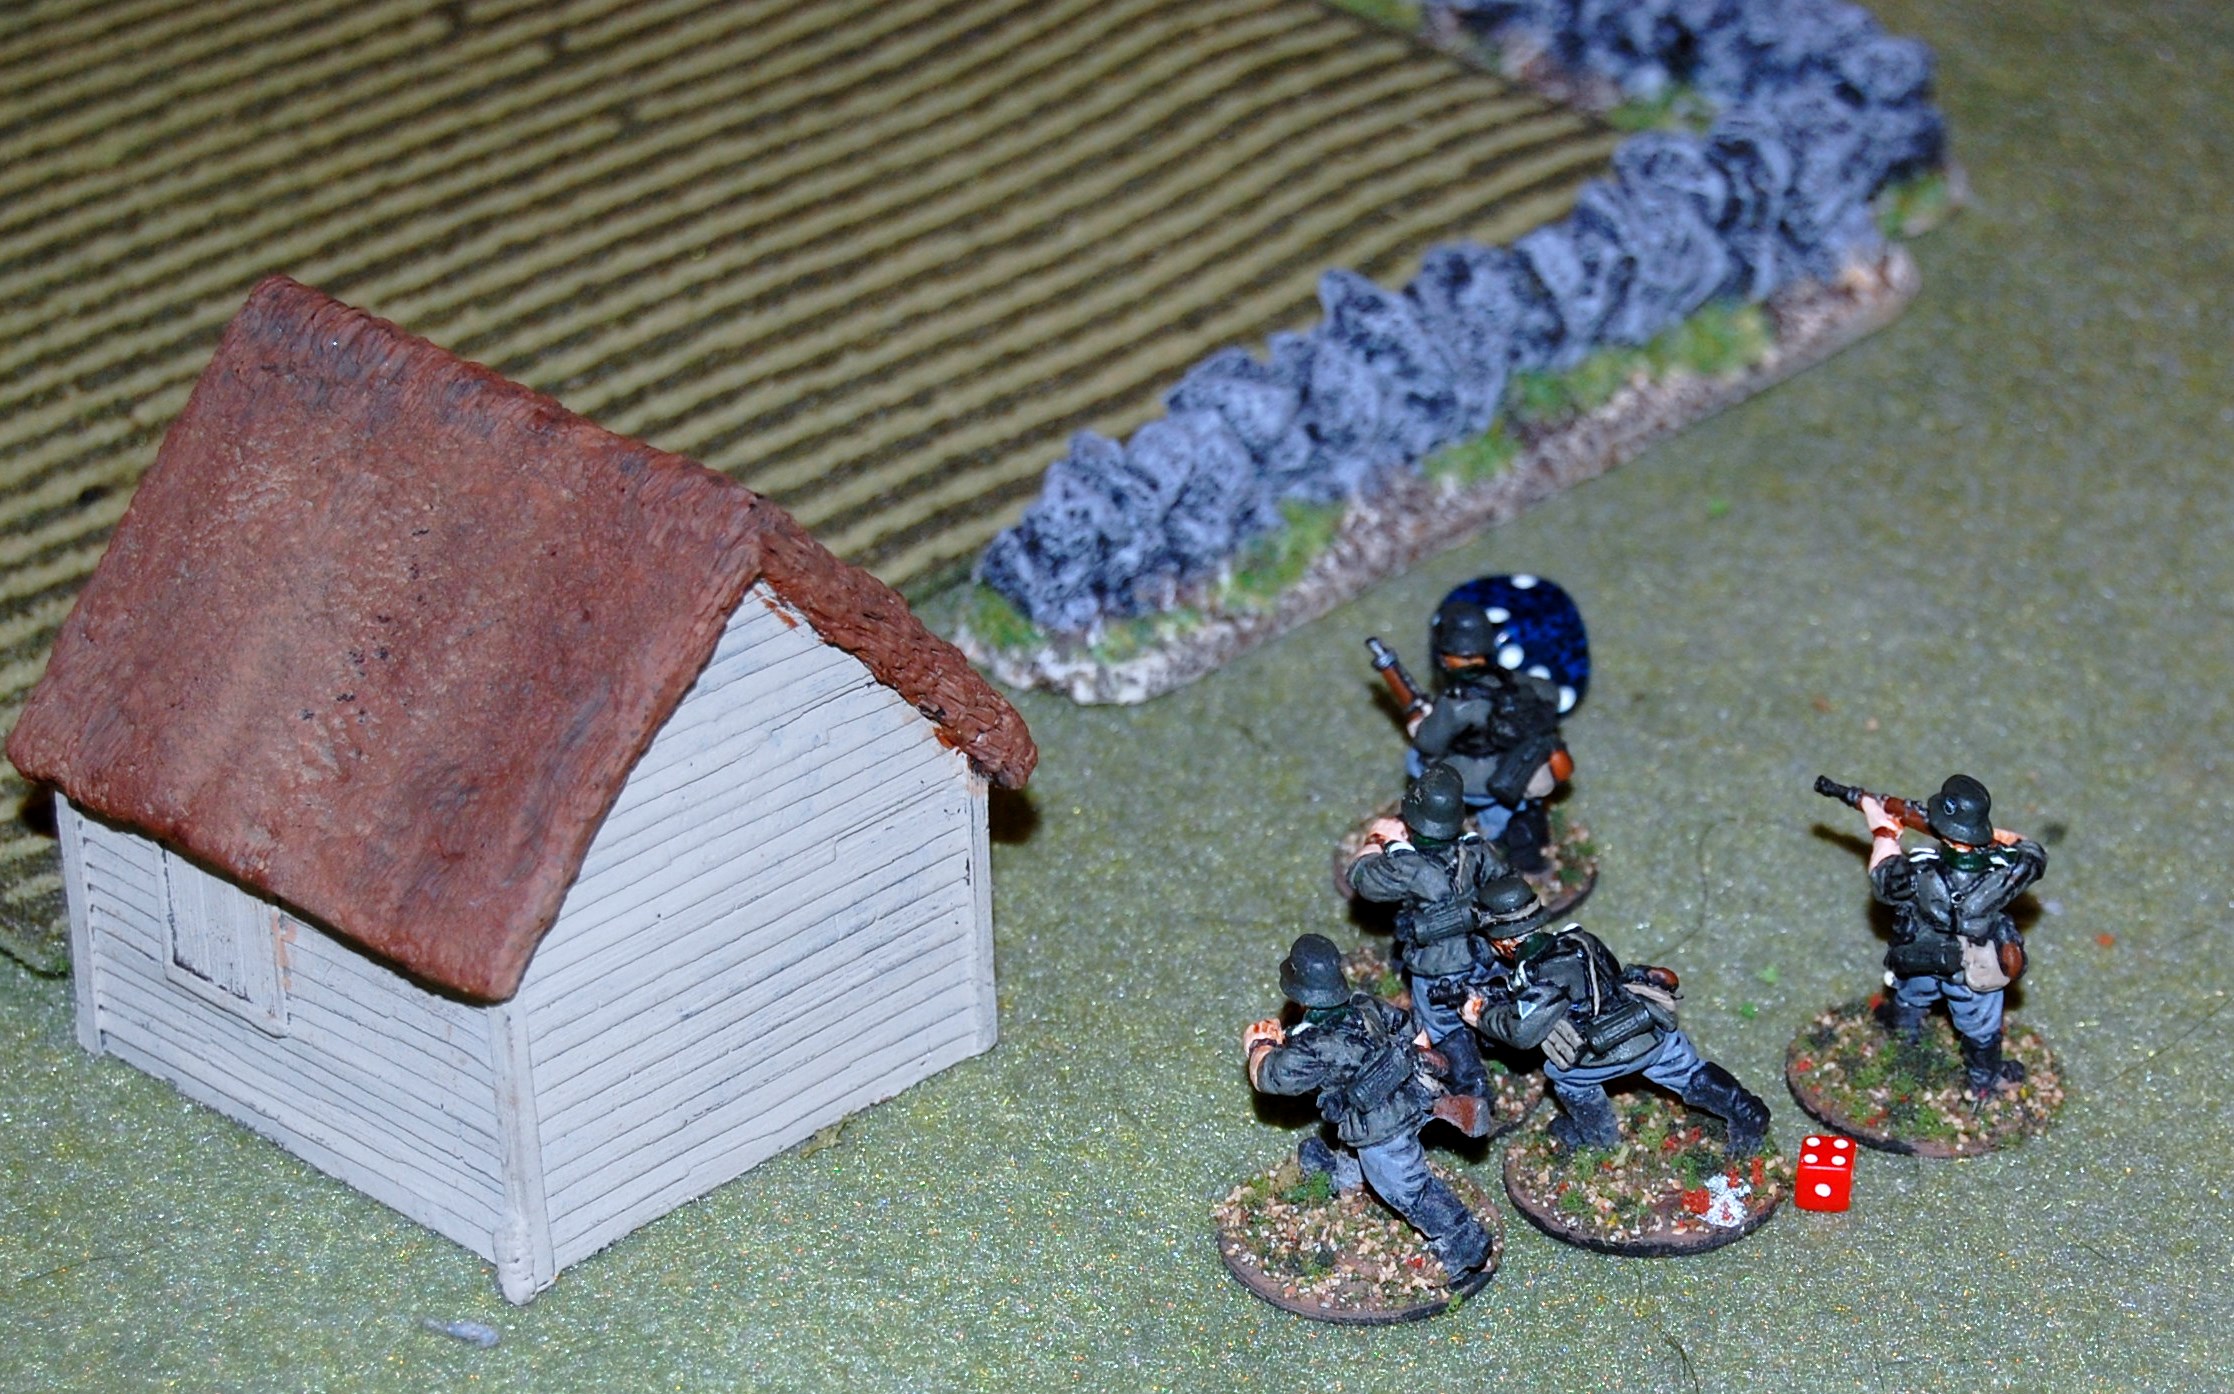
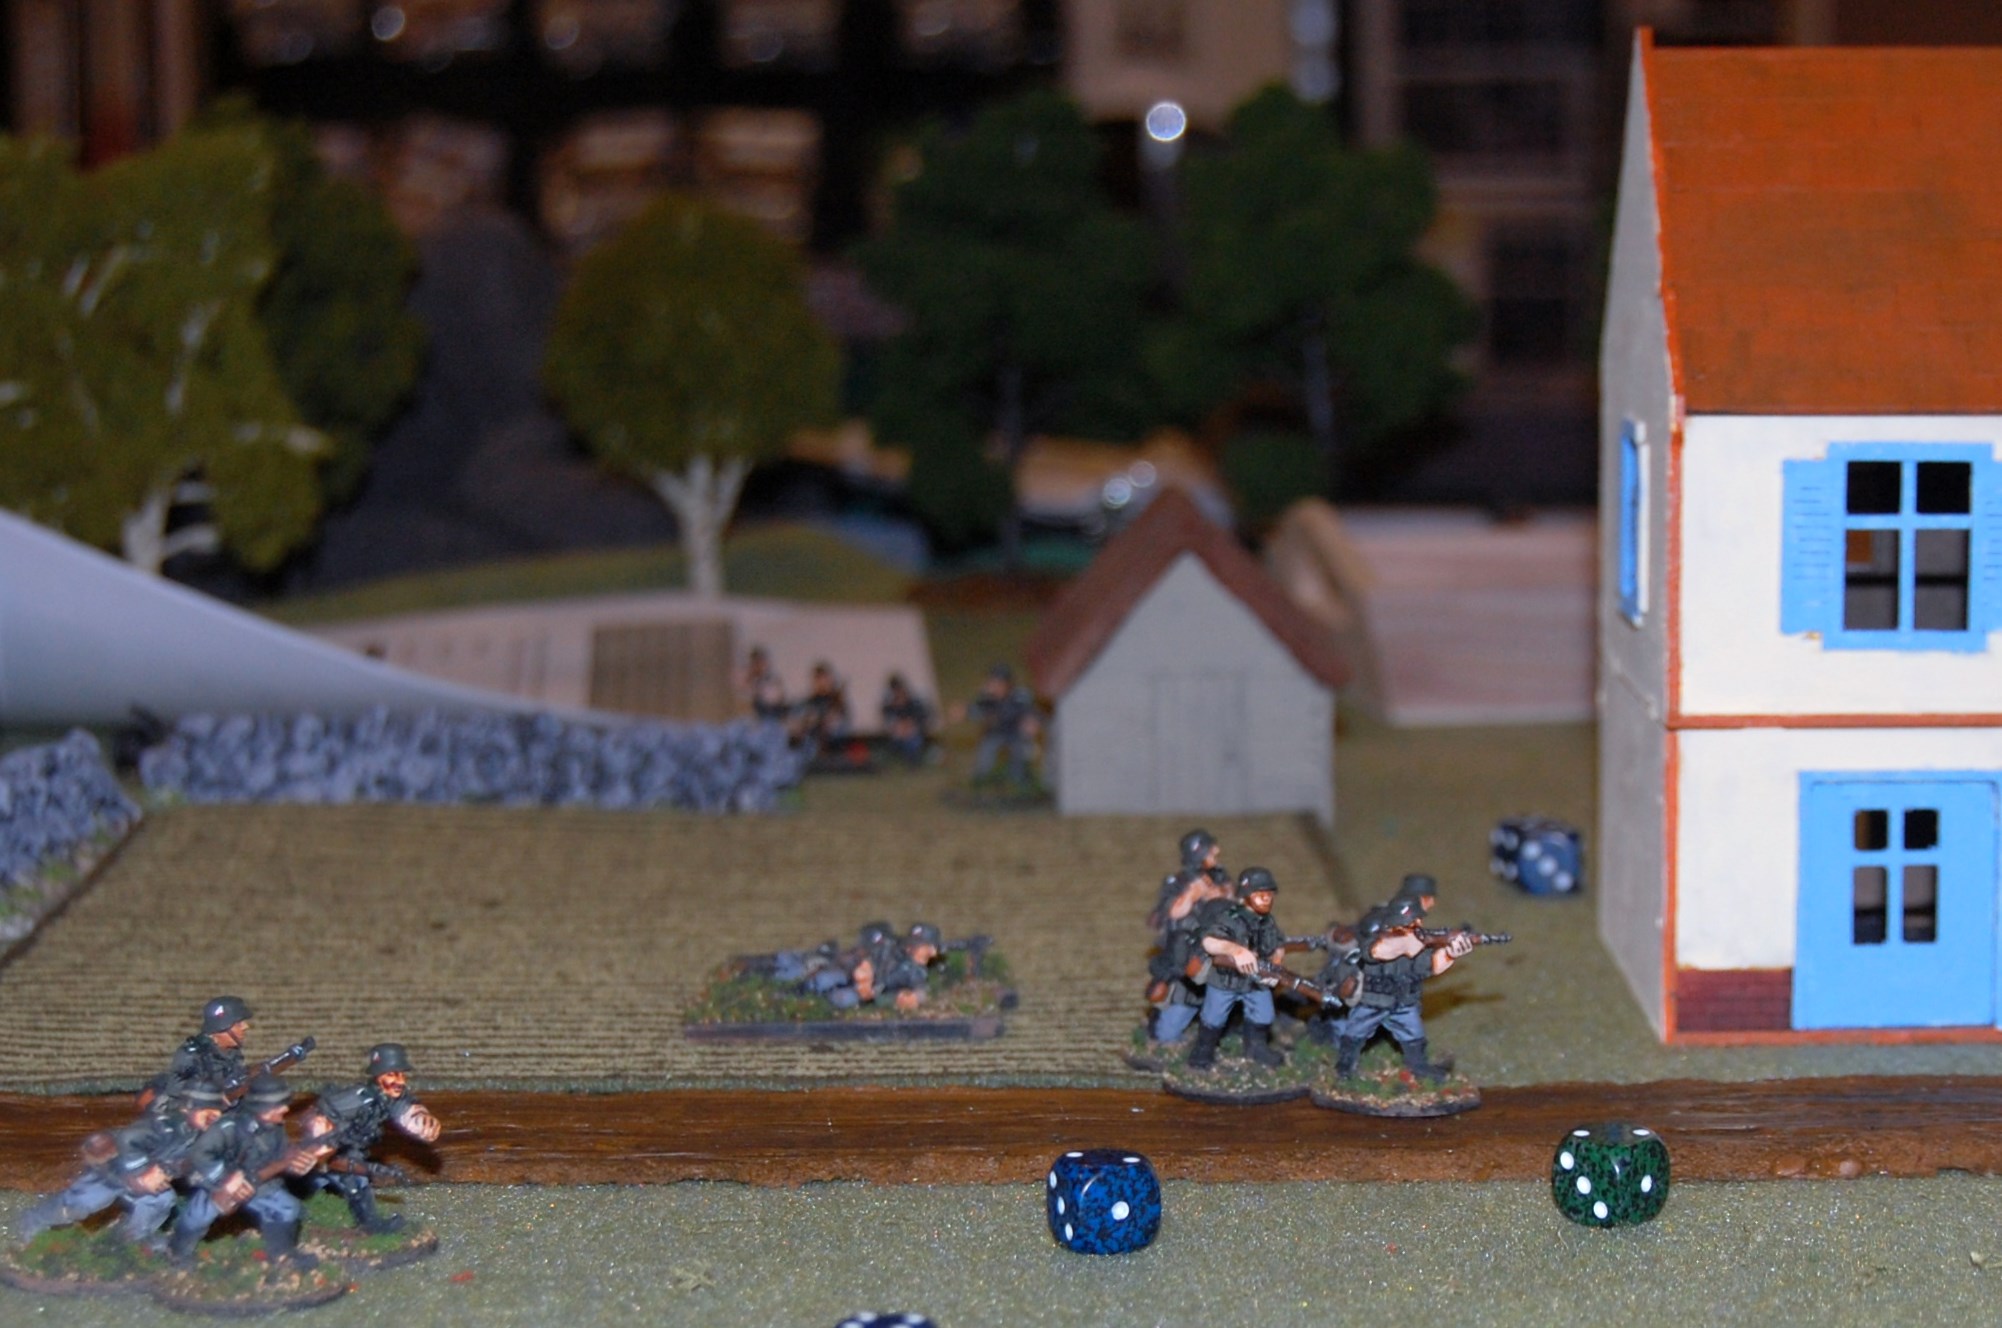
This began a static firefight which the Germans, receiving fire from two separate directions, were suffering from the most. The German 2nd squad was lost in those woods. The 3rd found itself trapped behind the central farm shed with their MG 34 team destroyed. The overall morale of the platoon was beginning to drop. Finally the platoon’s Feldwebel took command and ordered the 1st squad and shortly thereafter the 4th to double time across the open ground to the large field on their right. this finally removed them from the dangerous crossfire.

To keep the French from maneuvering to respond to these recent developments, the German Leutnant finally commits his armoured support. The Armoured car take a position along side the beleaguered 3rd Squad in the centre of the line while the Panzer III drives calmly right down the central road.
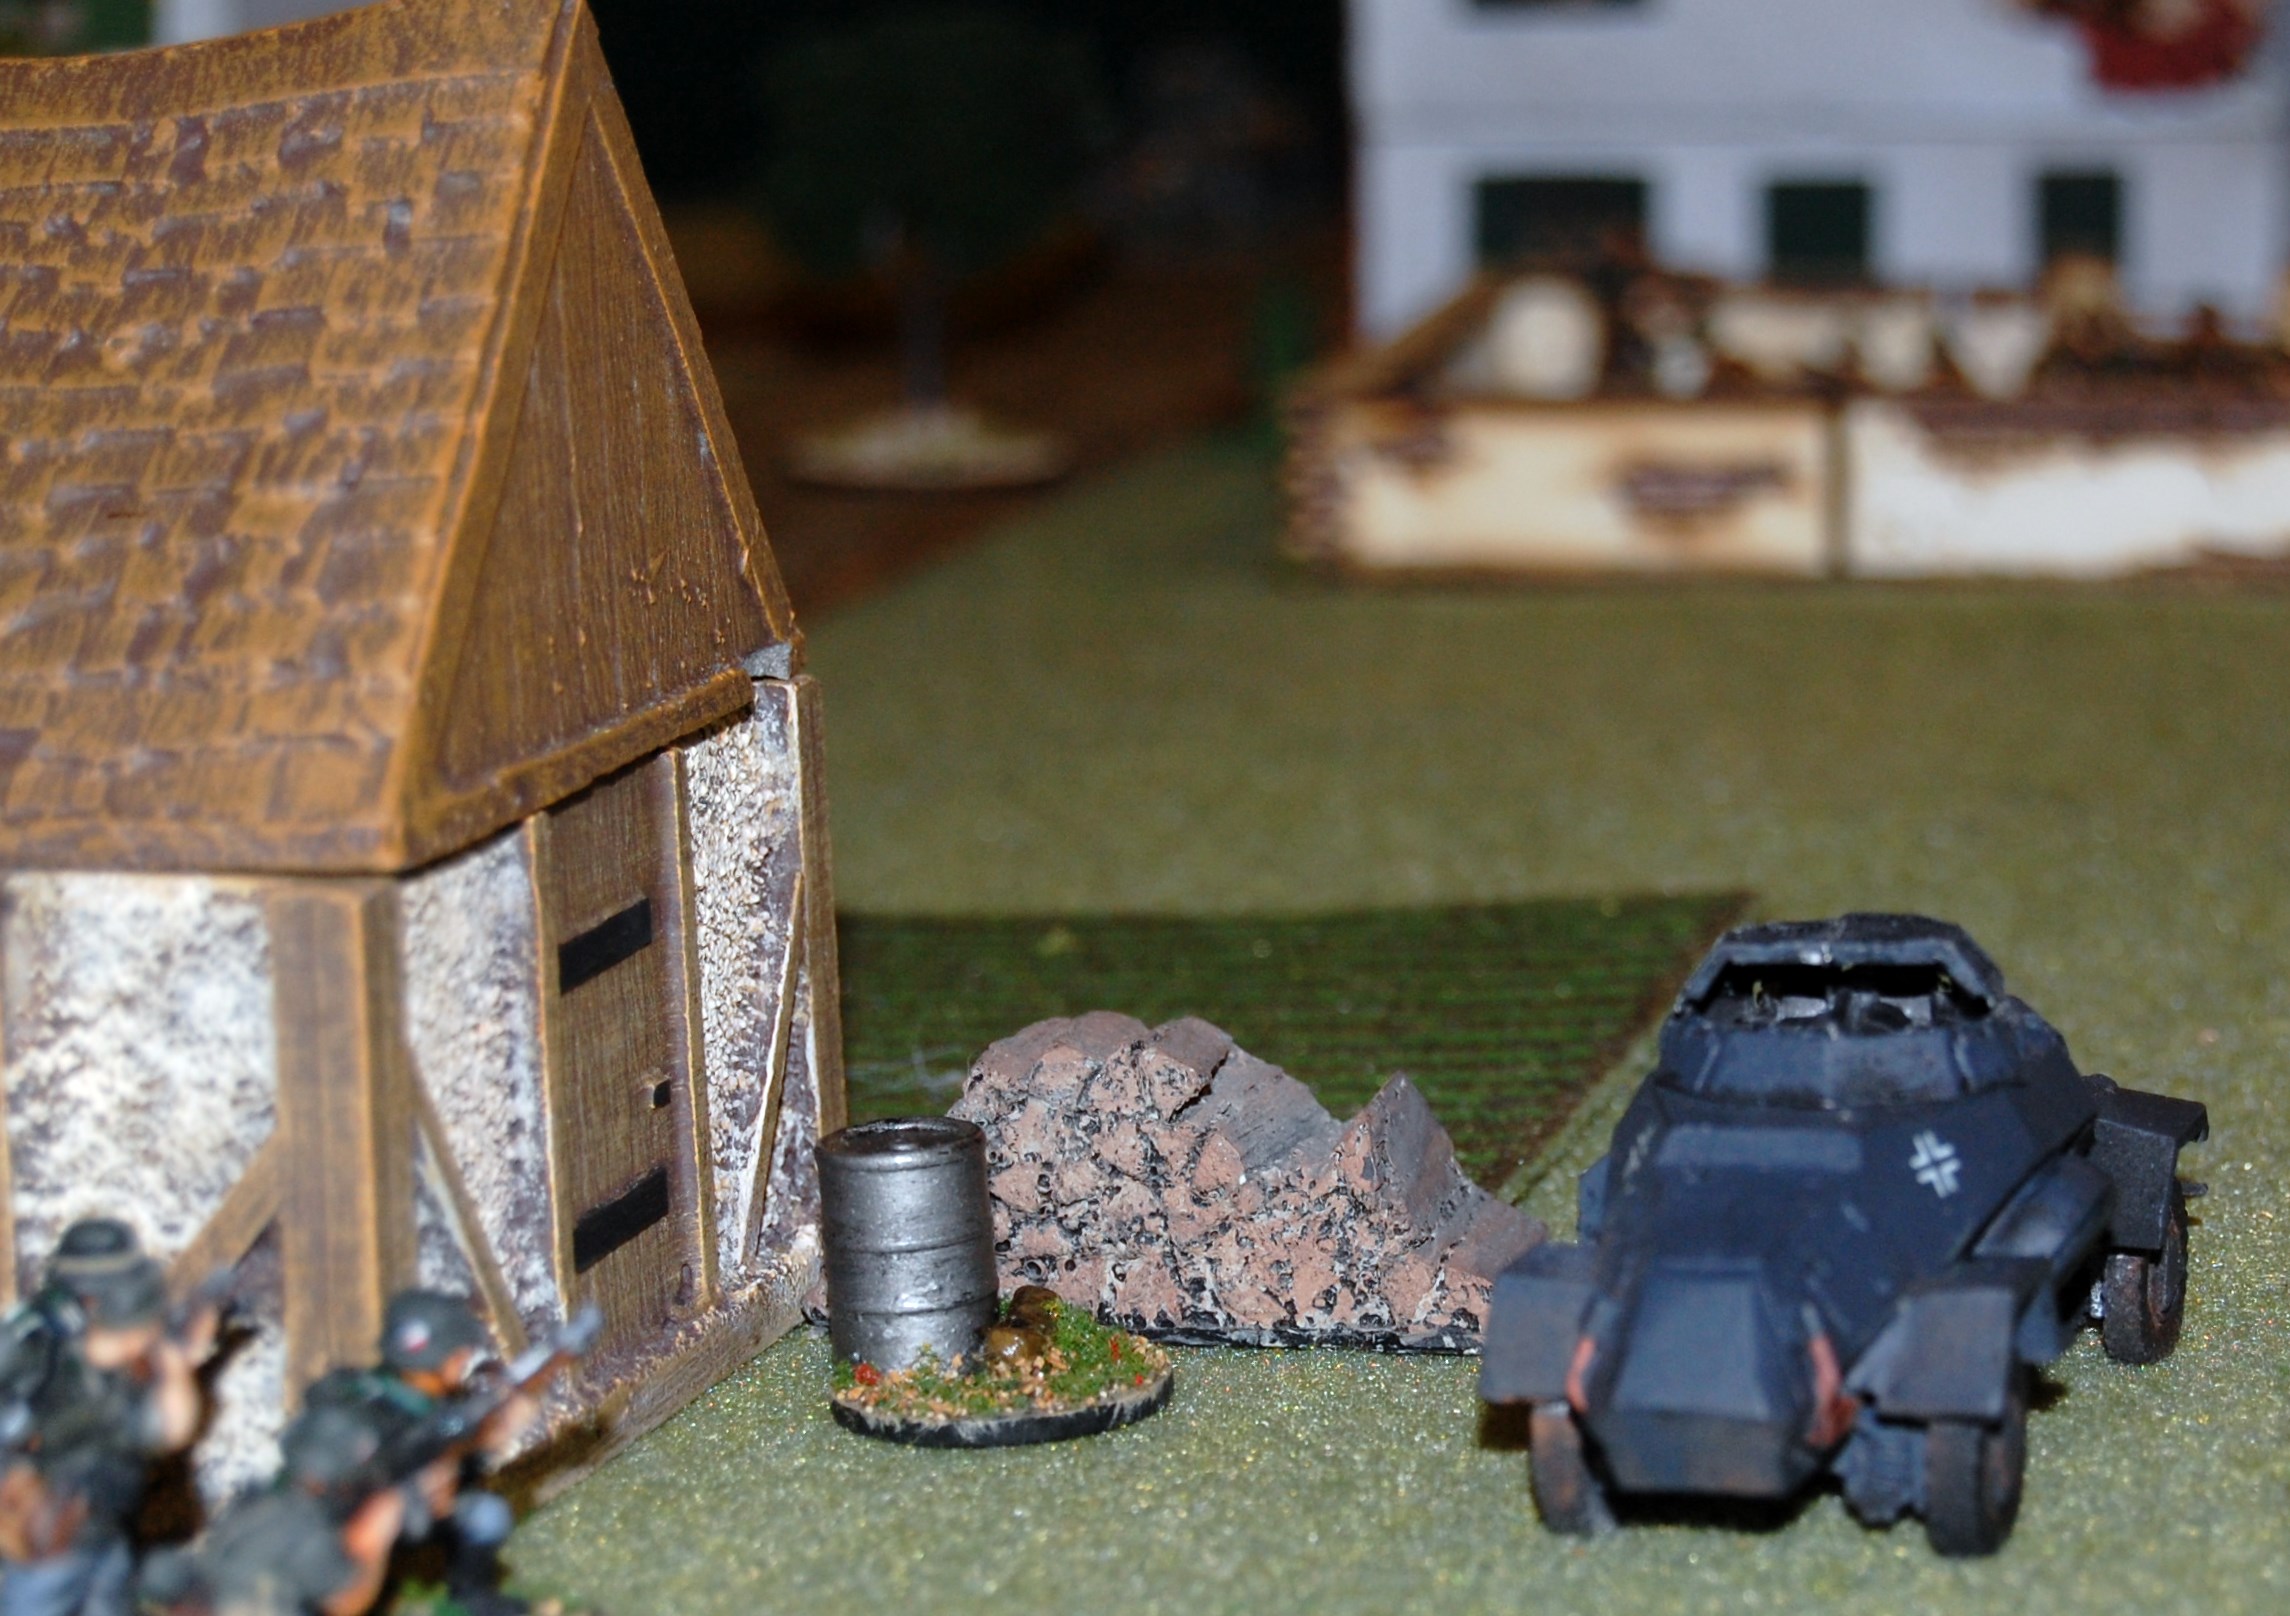
The French respond by deploying their own tank forward and the Hotchkiss hits and immobilizing the German armoured car, not quite the result they were hoping for as its guns were still quite operational.
On the right however, matters seem to be finally improving for the Germans. The two squads there approach towards the central farmhouse and one, with a hail of hand grenades assaults the Frenchmen holding the walled orchard.
The Germans were in a rather good position, but their assault would prove premature. more damage should have been done to the defenders before ordering a close assault and the German grenades proved less effective than they would have preferred. While the French were defeated and driven back the German squad was no more. Finally, with two squads gone and one other greatly reduced and its initiative lost, the Germans conceded defeat.
Everyone seemed to enjoy the game and it was impressive to see the German chances improved as the players became better acquainted with what they needed to do. I think if we had played immediately following that first game that the results might have proven quite different.
Kellogg’s Allies
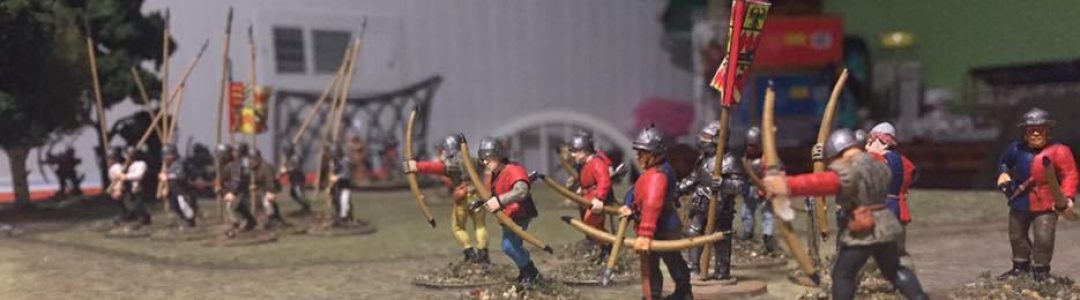
Next, almost directly on the heels of the Fall of France battle, came time for the Sharp Practice game. This scenario was adapted from the Fondler’s Allies scenario in Too Fat Lardies campaign book “The Compleat Fondler”, with some alterations made in force size and composition. My Devon Kellogg is a Lt and Quartermaster for the 60th Rifles rather than the overdone 95th rifles(unlike both Fondler and Sharp).
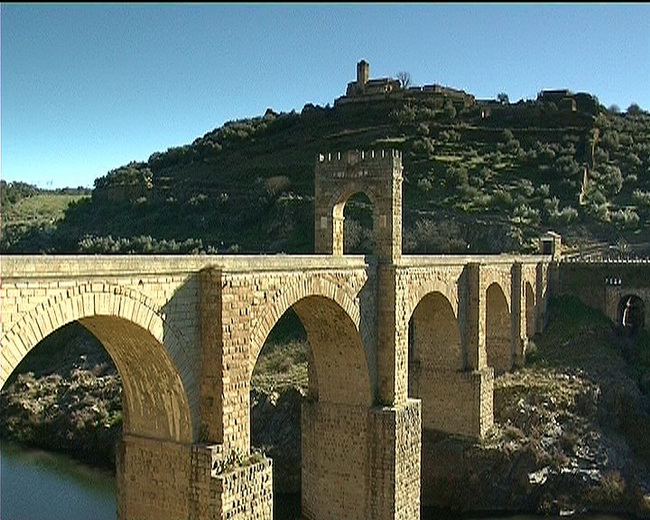
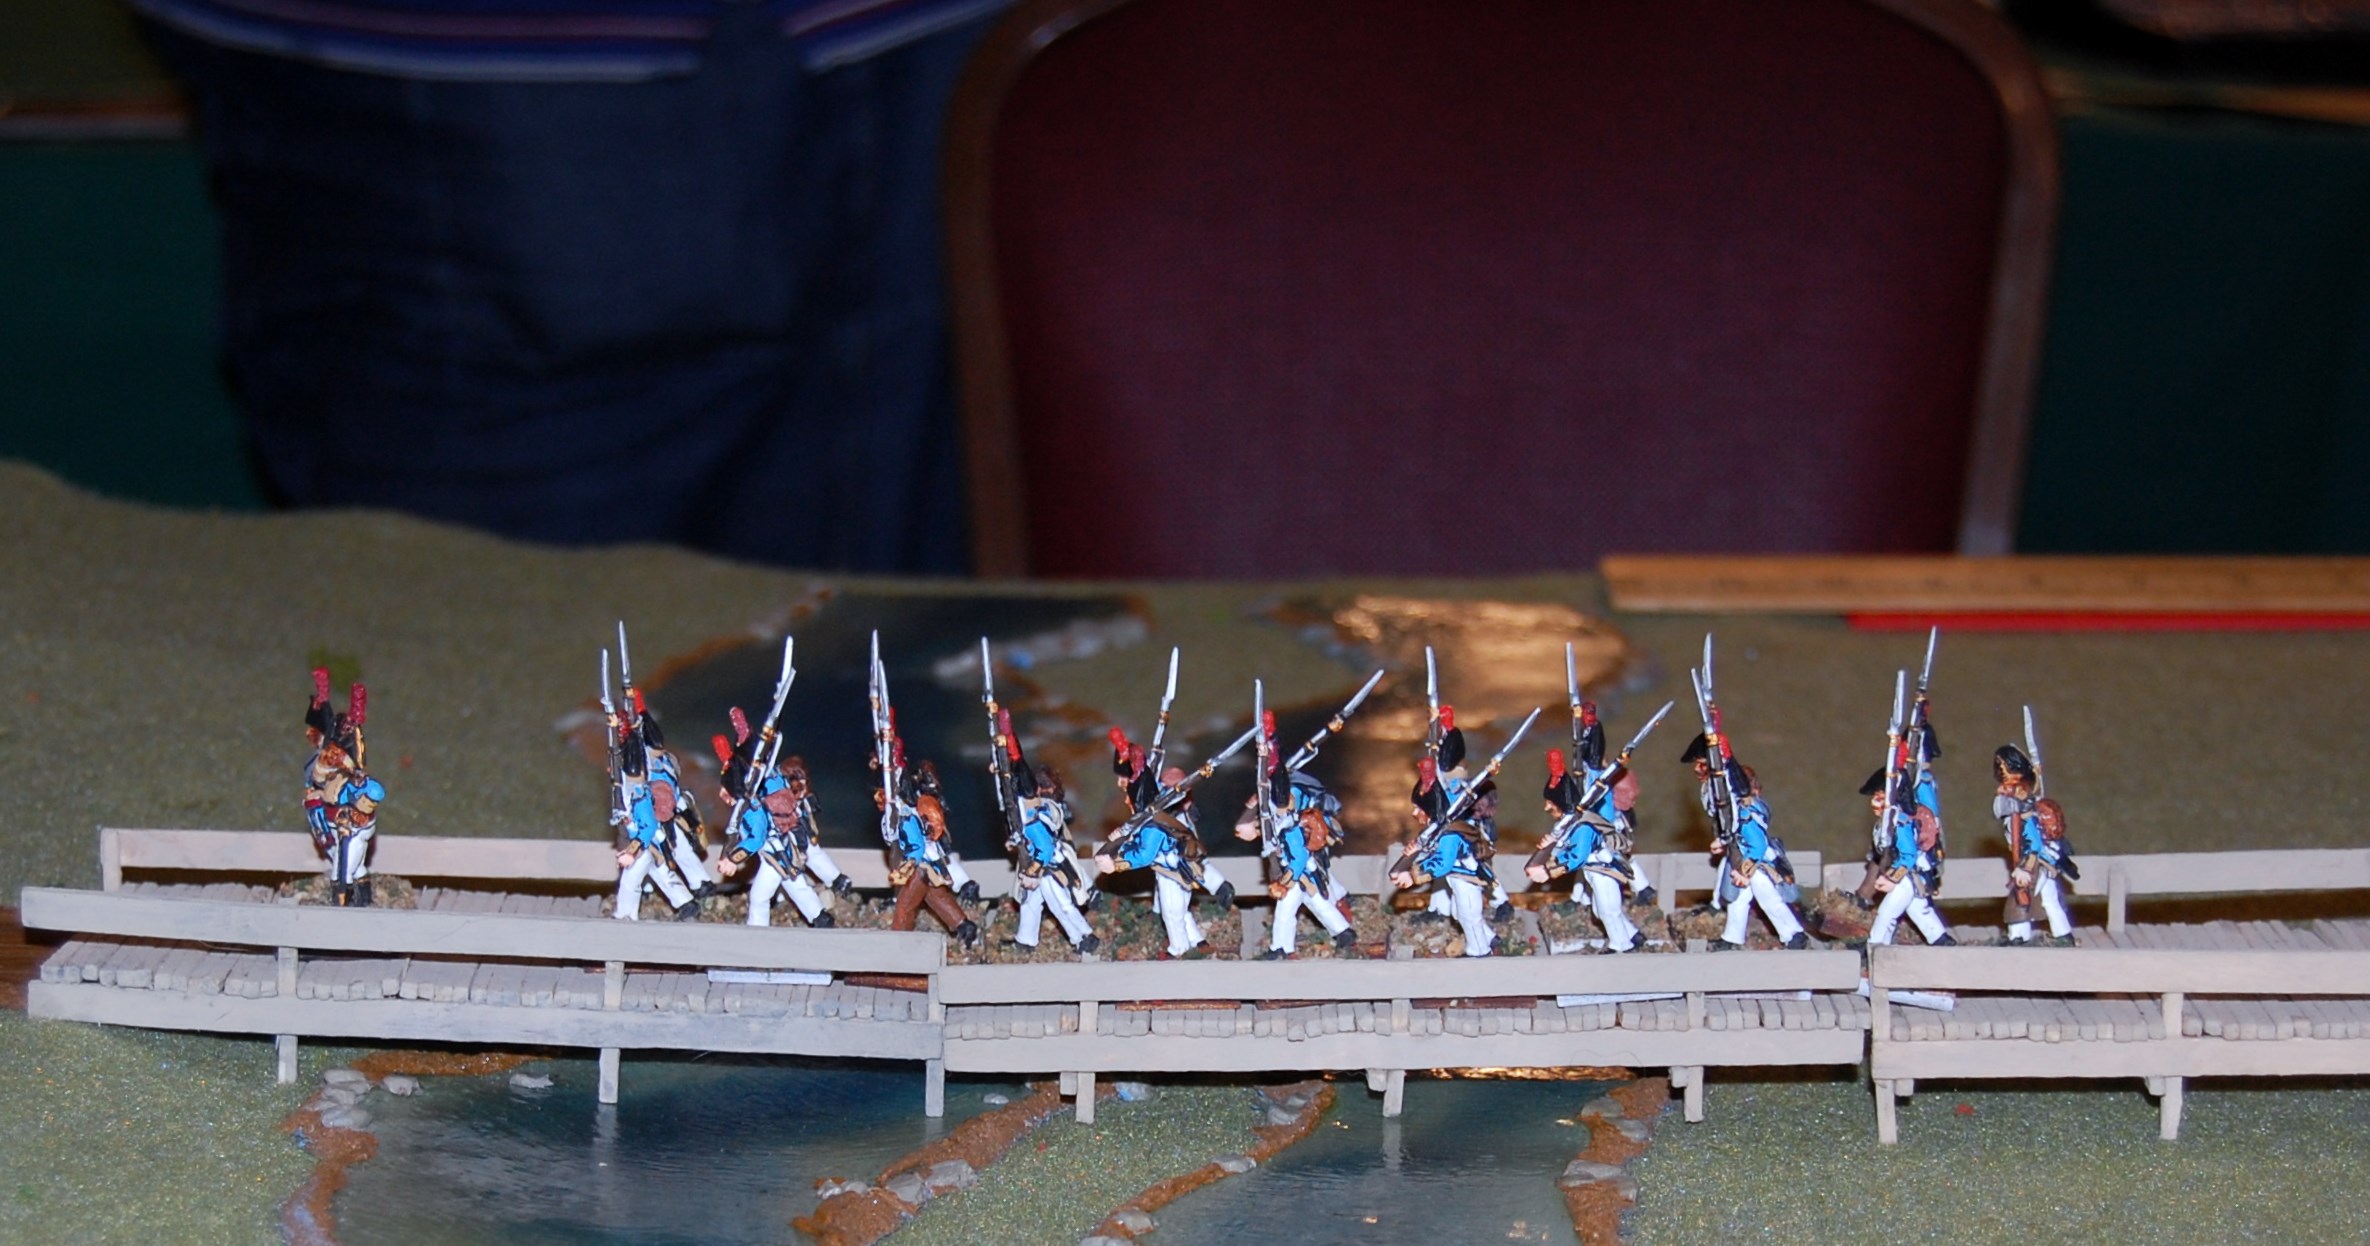
The bridge was also altered following the inspiration of a similar encounter represented in the film version presented in Sharp’s Eagle. The Bridge discribed as Ponte Alcantra in the Compleat Fondler is clearly the Roman Bridge at Alacantara and therefore larger and taller than I was able to put together in the short time I was working with. The bridge in Sharp’s Eagle is low, long and wooden and I could build it quickly around scenery I already had. My bridge was built board by board from craft lumber.
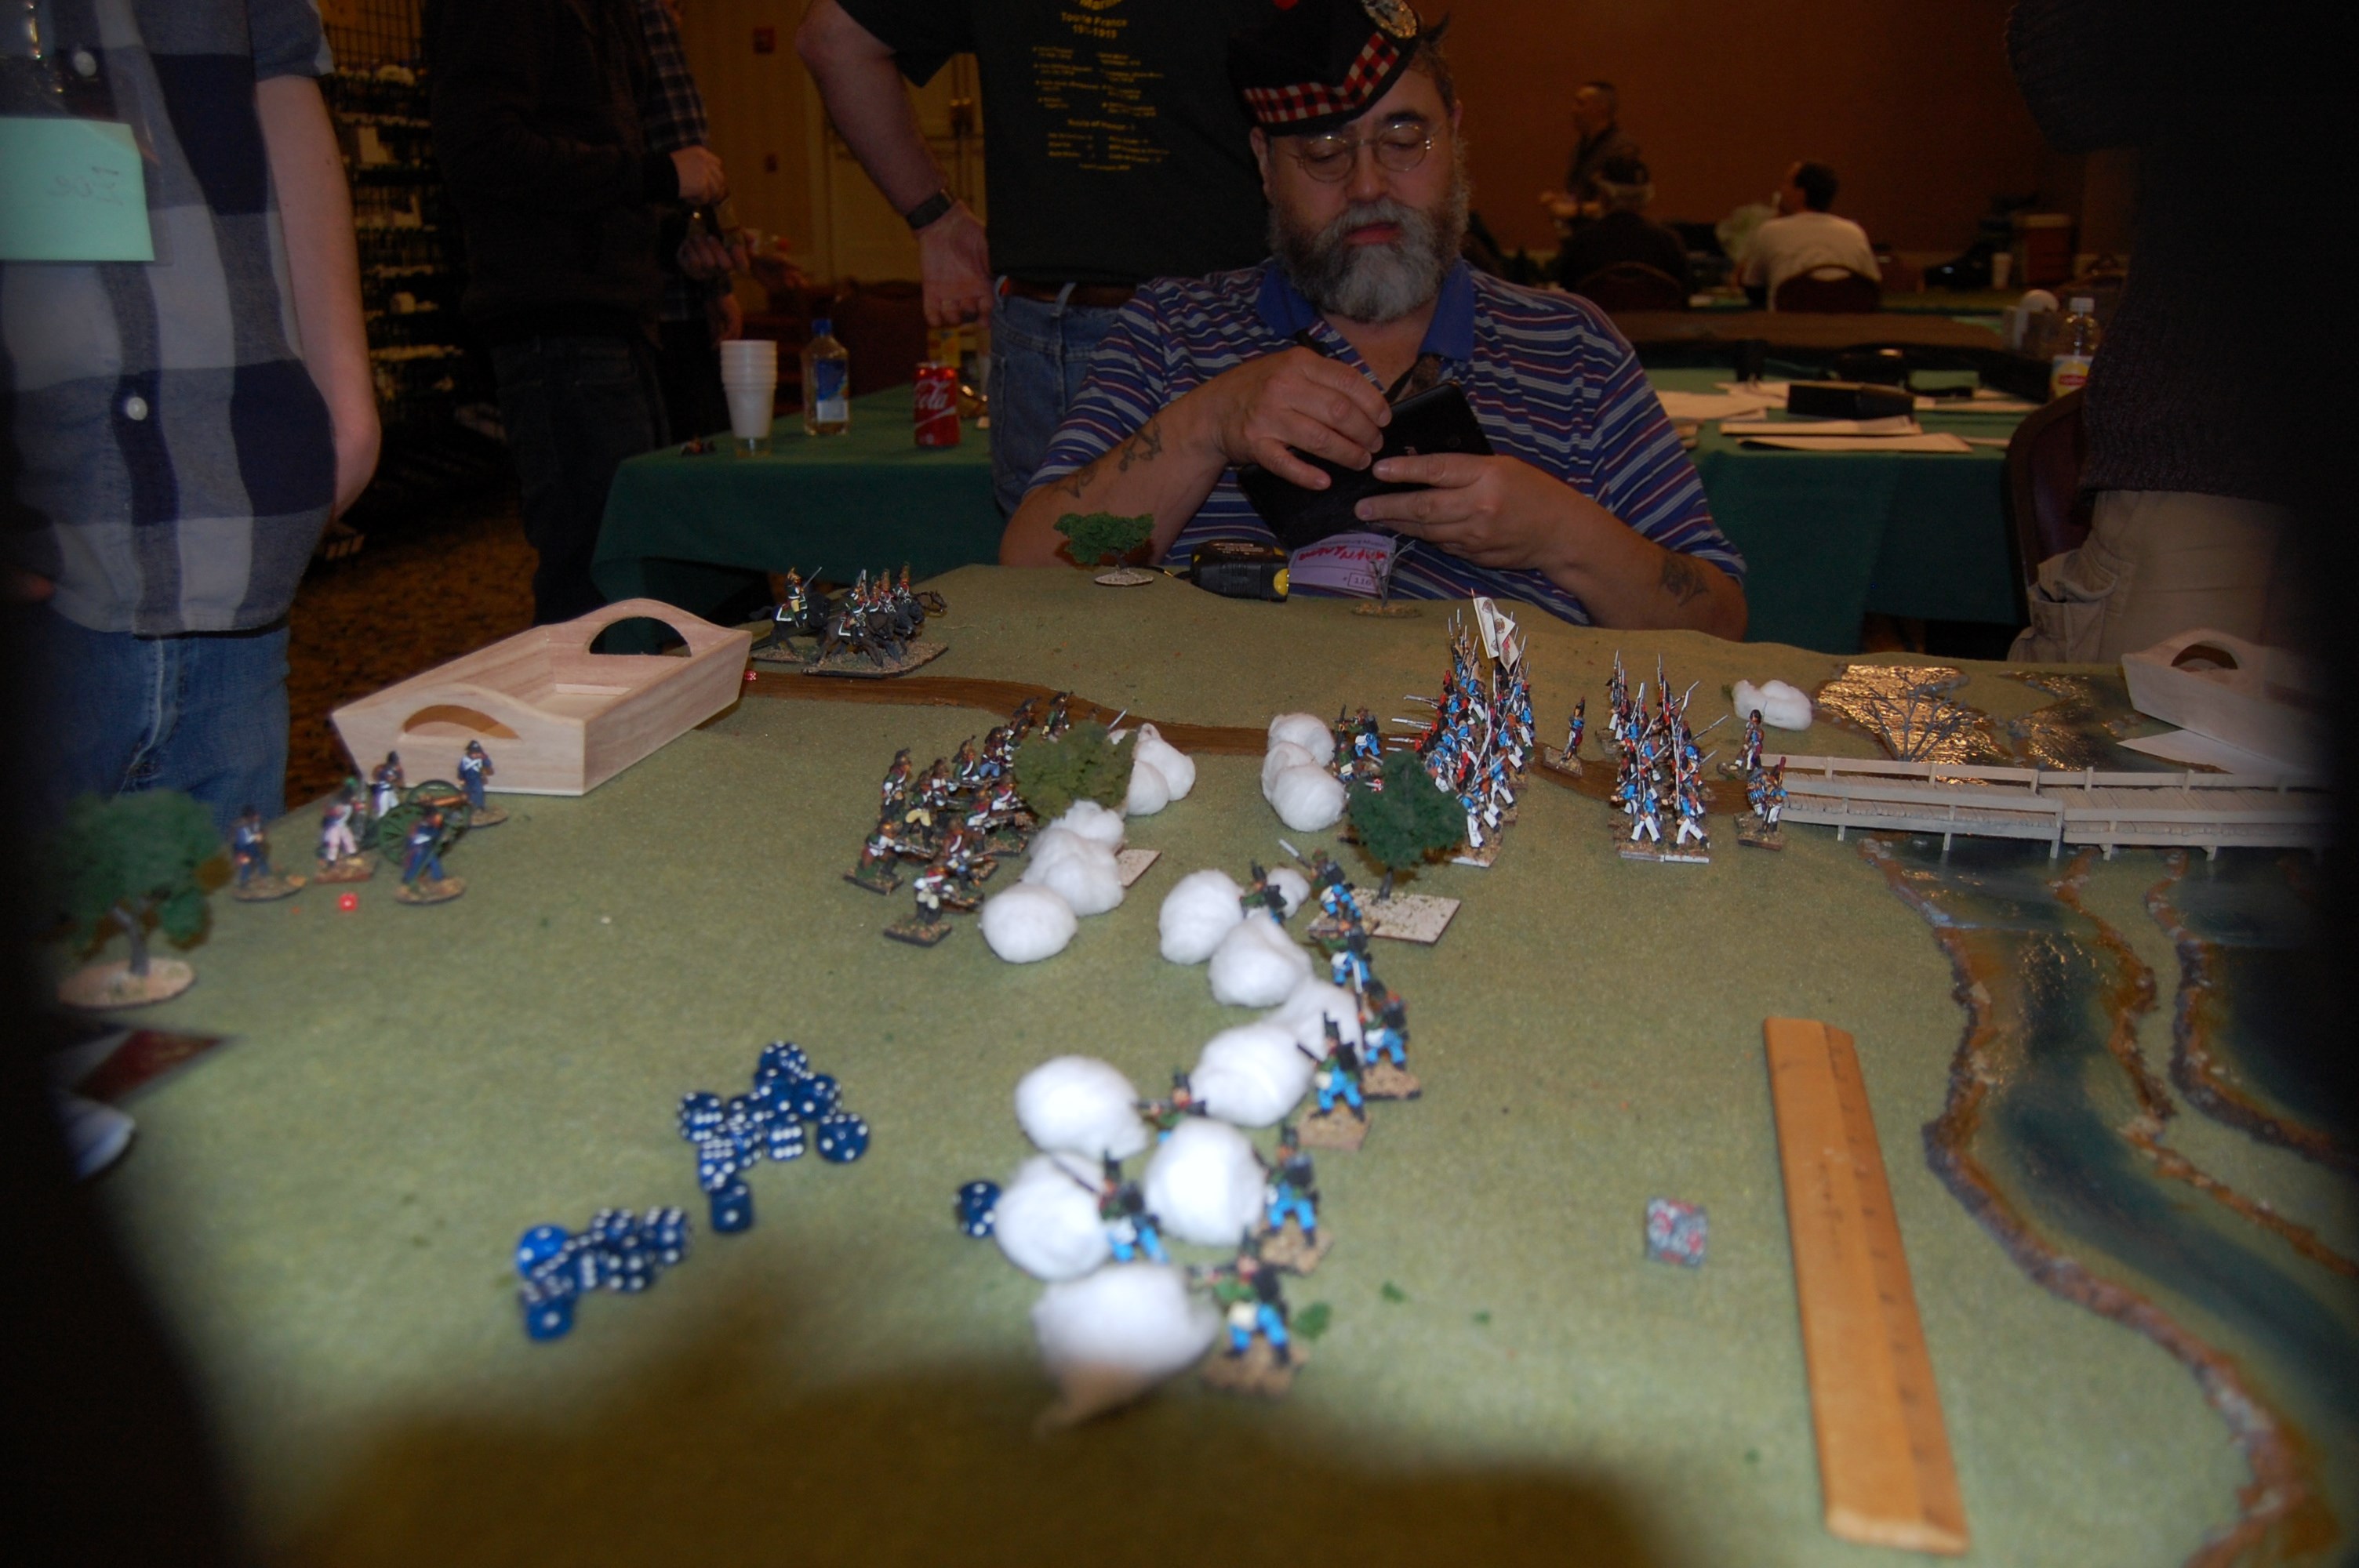
The scenario calls for the 60th Rifles as well as a company of the Spanish Regiment of Irlanda to hold of a squadron of French Dragoons as the English engineers plant explosives and destroy the bridge. The scenario includes contingency rules in case the French take the bridge before the engineers have completed their work. The allied forces all began on the French side of the river. There is almost no cover, only the remains of a Moorish fort on the Allied side of the bridge.
My players were Mark and Zoe on the French side. This is fitting because Mark is the world’s premier Napoleon interpreter. Peter commanded the Spanish and Mike the Rifles. Most of the players had no Sharp Practice experience, though Peter has played once before (with me last August).
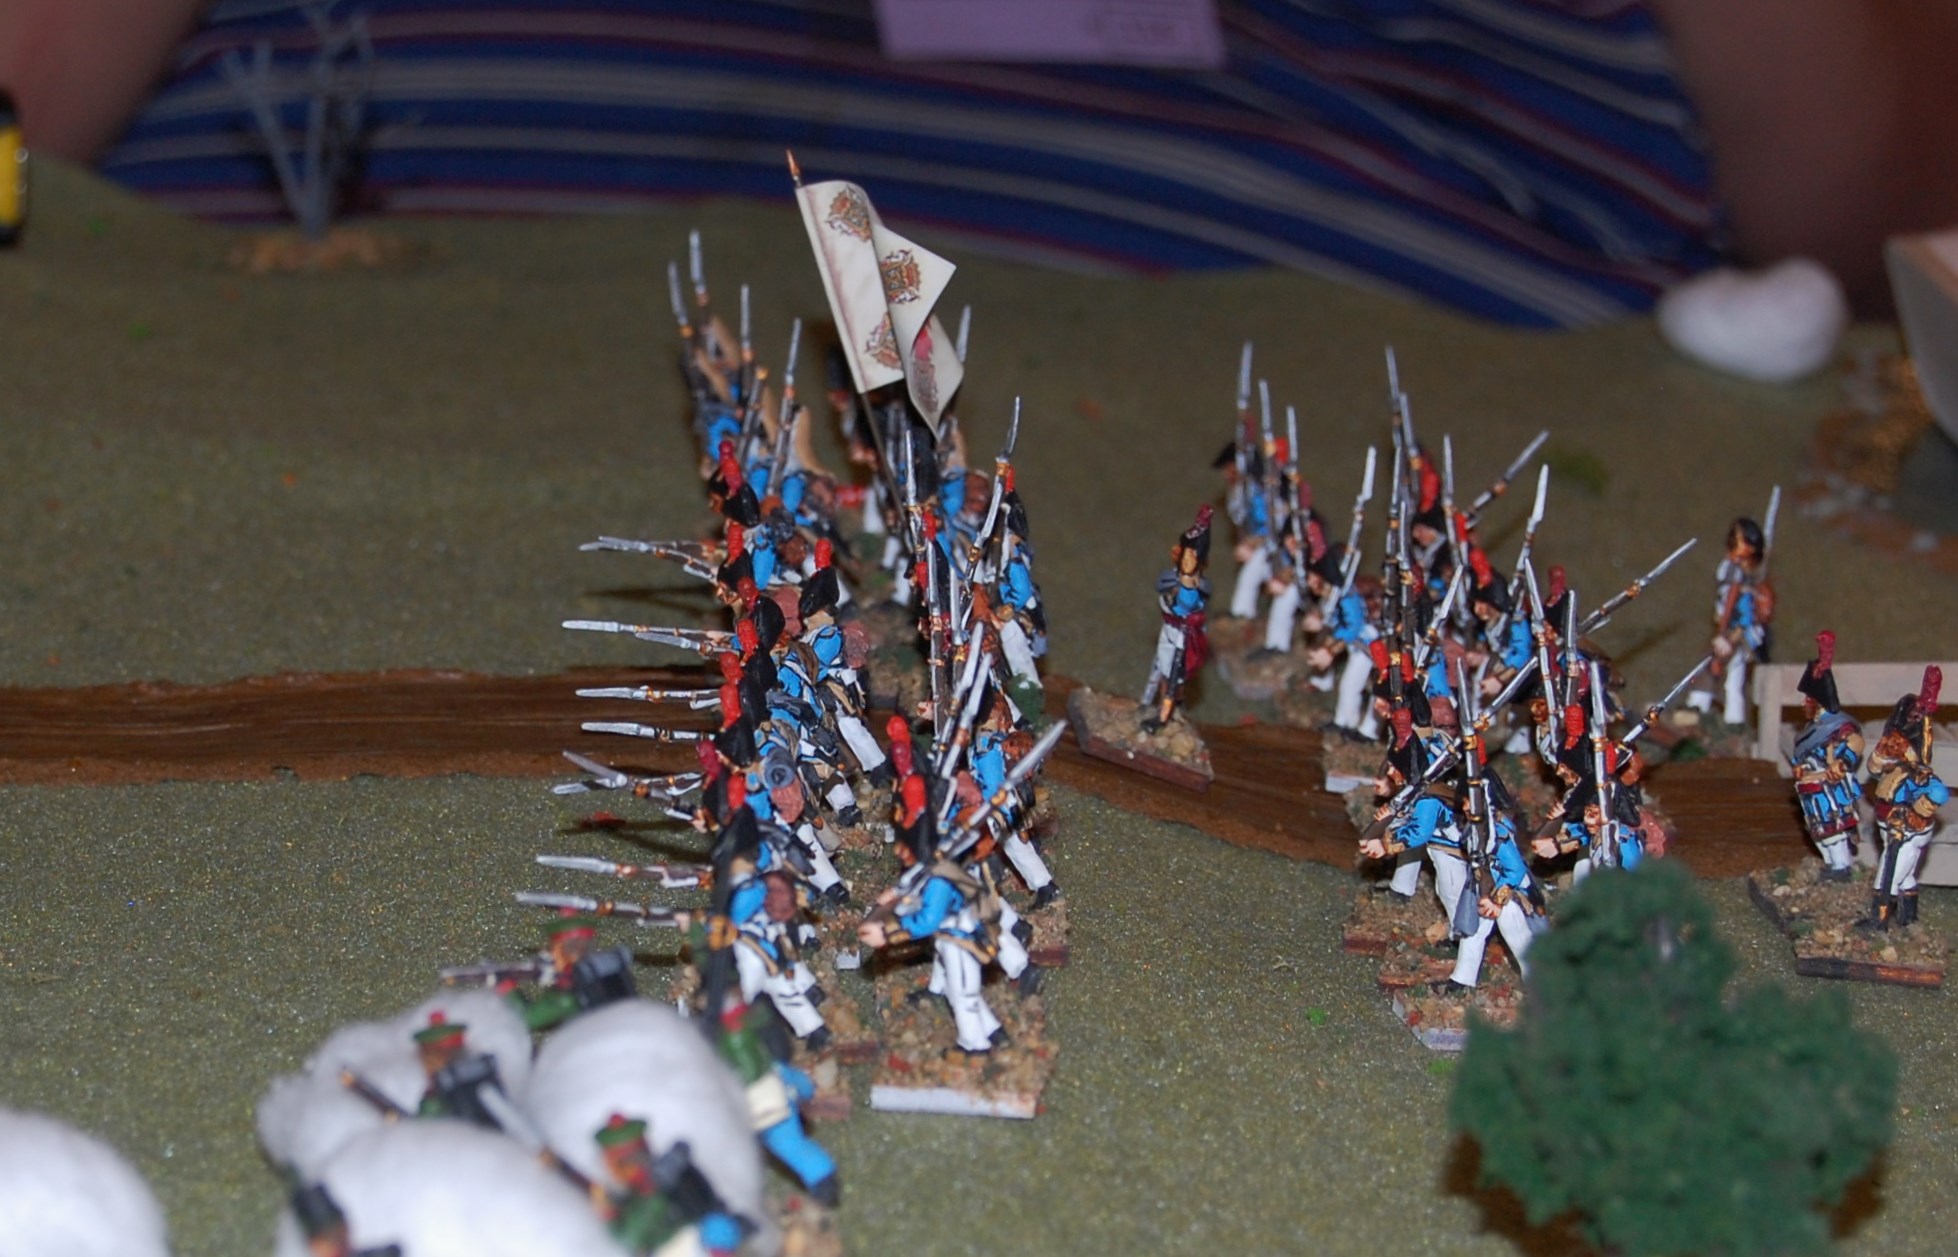
The Spanish deployed with most of 3 of their 5 groups in a line defending the bridge. The remaining two were in column on the bridge with their commanding big man Major O’Higgins (The Spanish Irlanda are Irish expats.). The 60th rifles deployed in skirmish order before them.
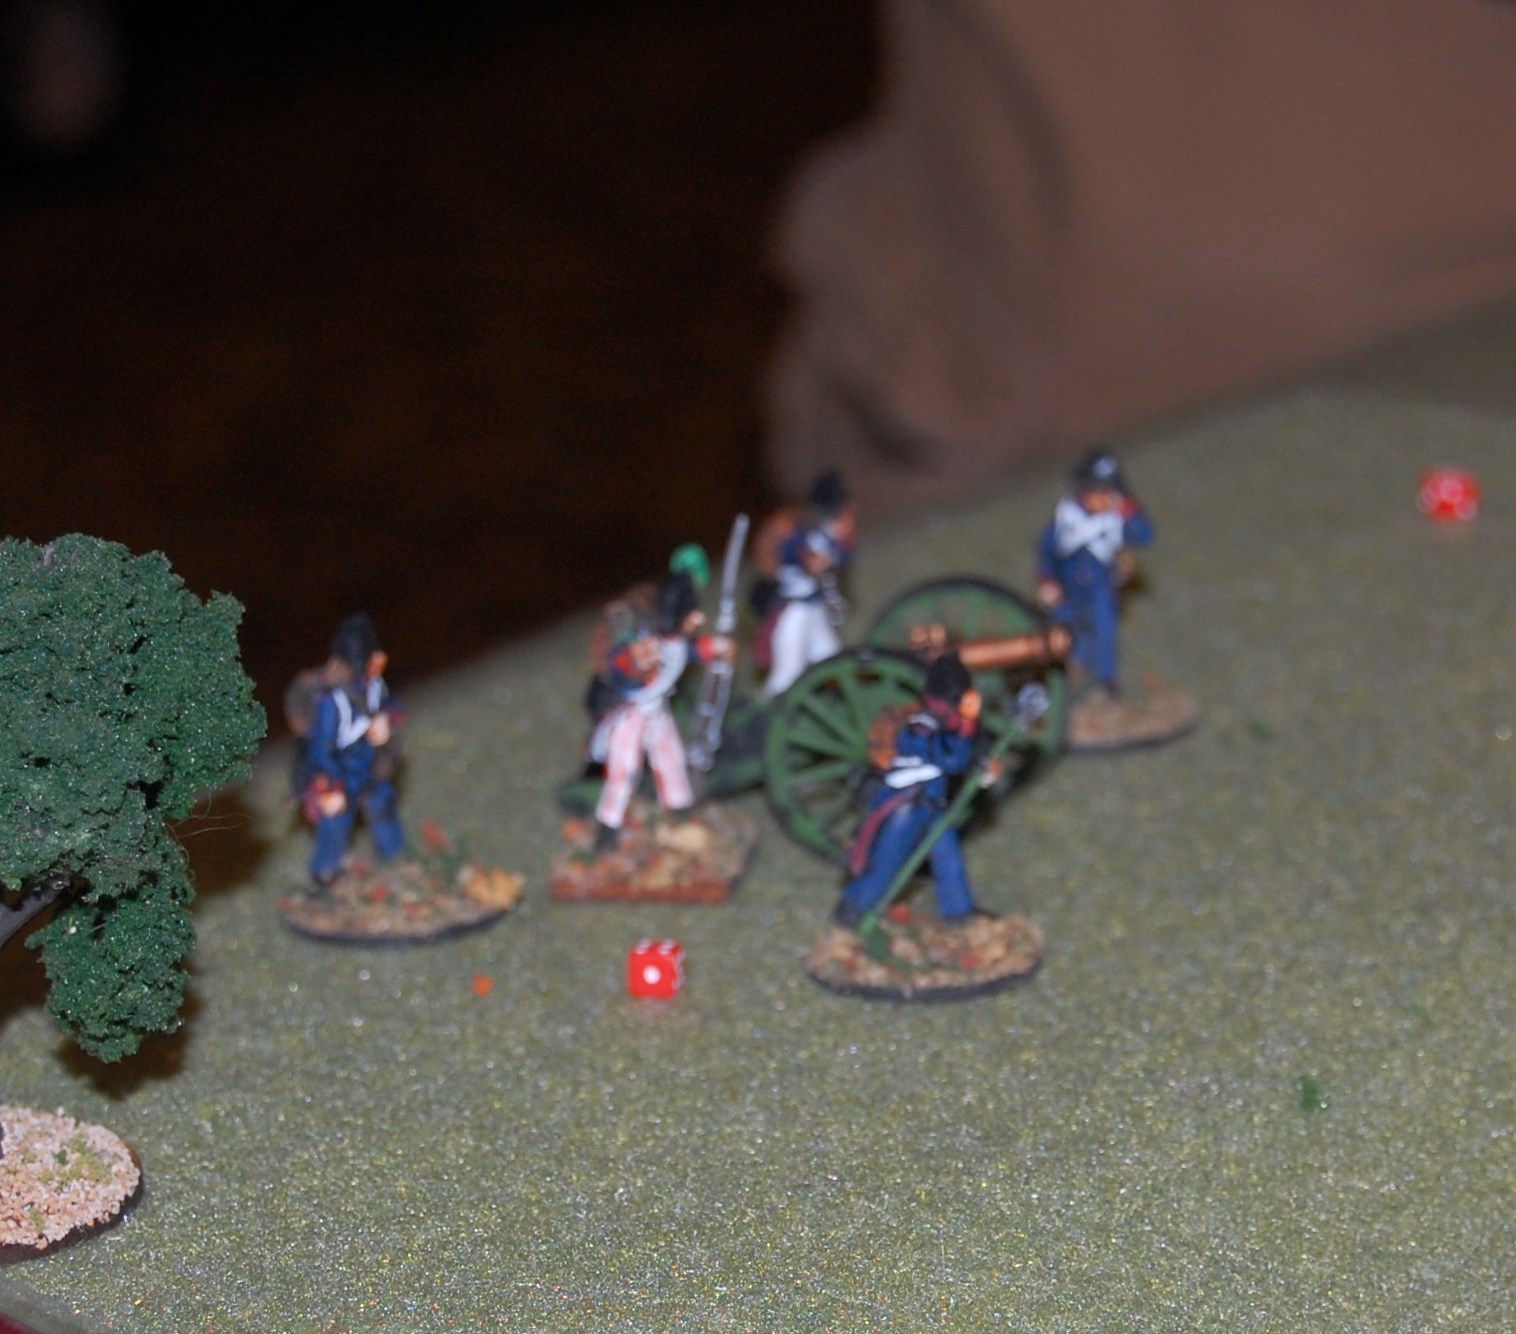
The French entered on blinds which at the ranges we played without cover was probably unnecessary but it was fun nonetheless. More so because I had kept the existence of a French light artillery piece hidden from the allies.
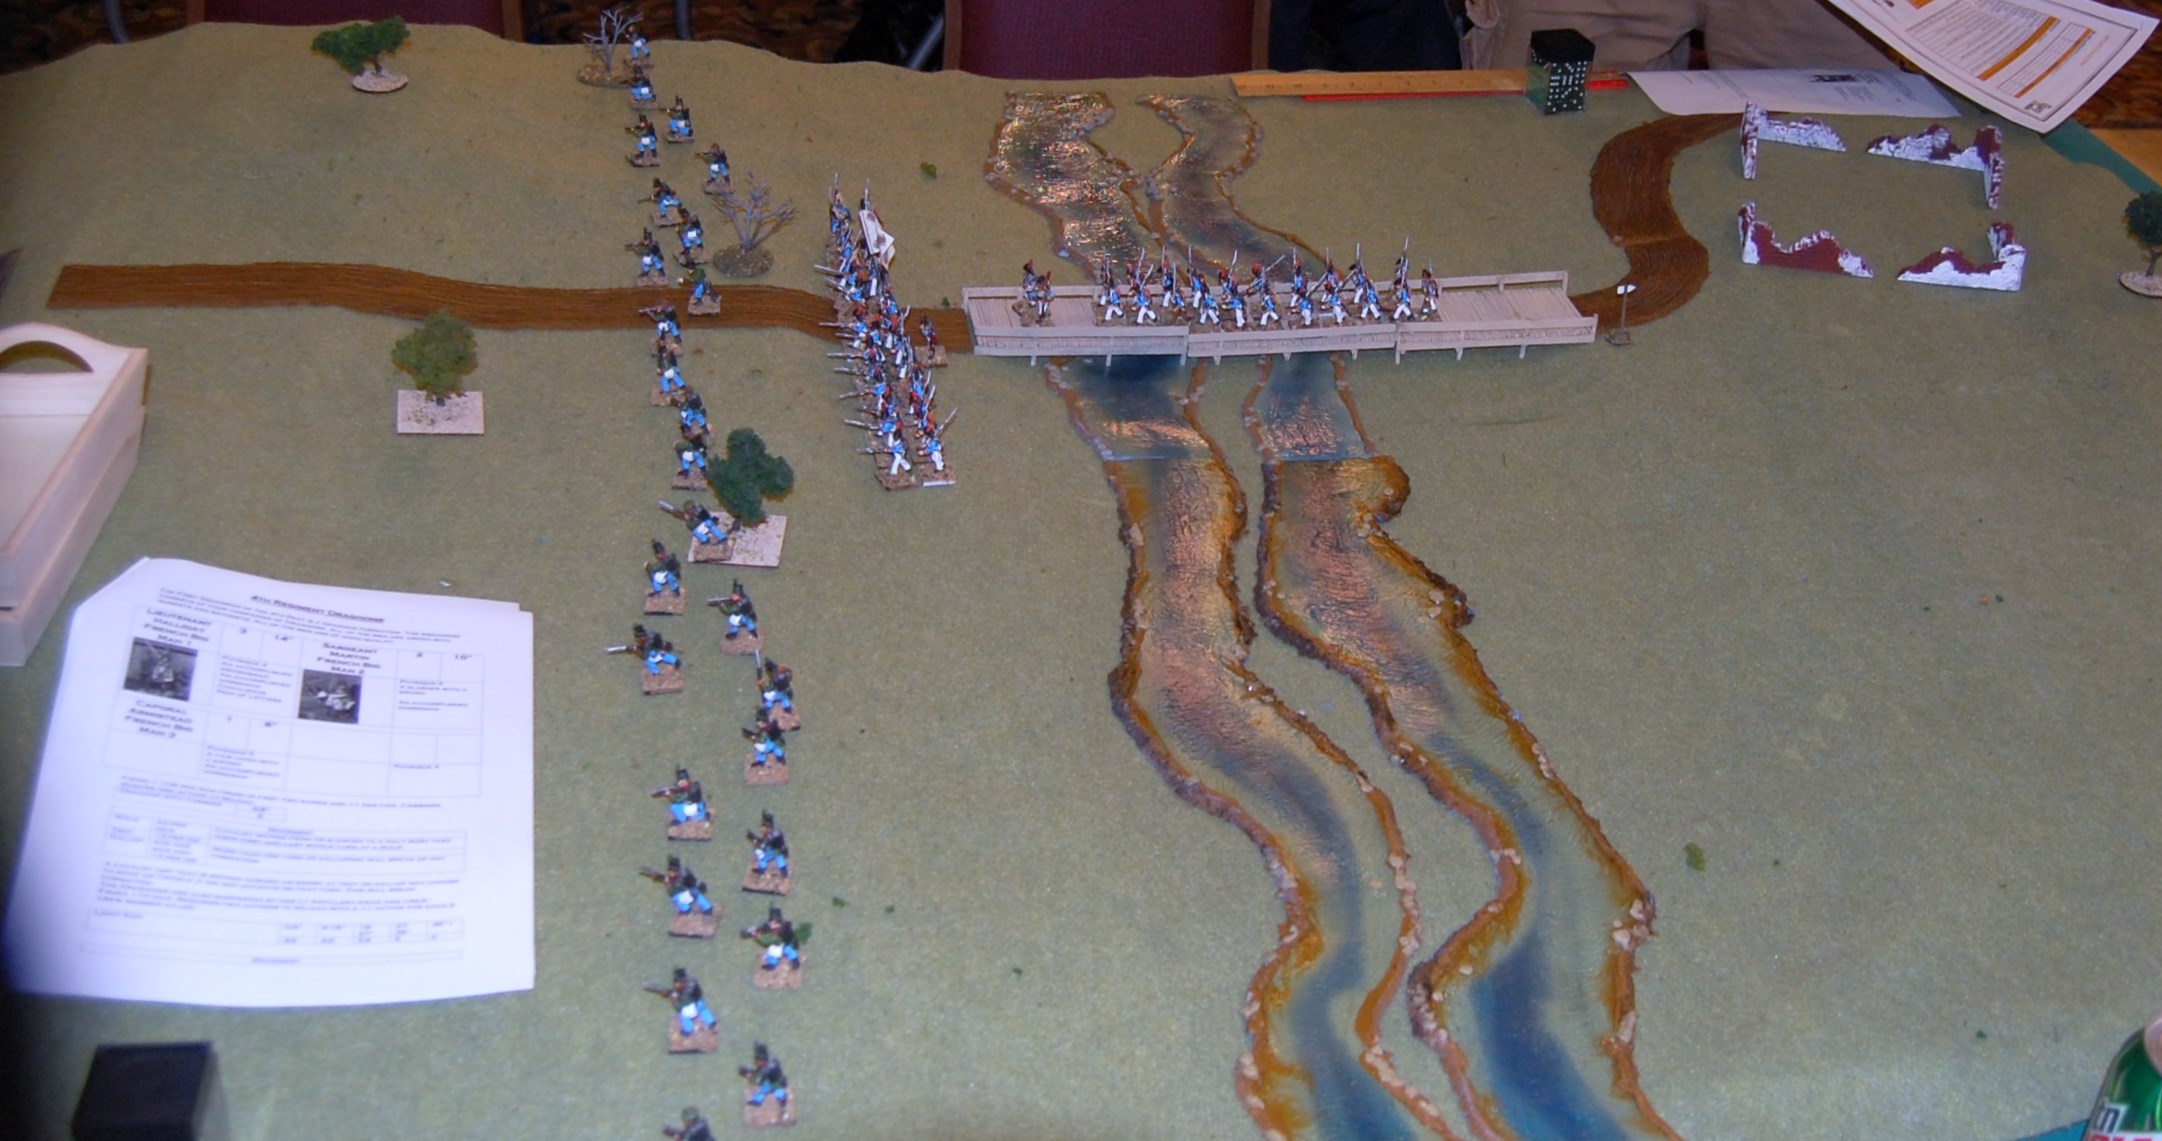
The French deployed the cannon on the highest hill available to them, giving it a clear field a fire on the whole battlefield. In the end however the gun did little damage. Half of the Dragoons were dismounted and made their way towards the Allied forces just below the road. The longer ranges of the Baker rifles caused a great deal of damage to them and one group was forced off the field.
The mounted Dragoons suffered a different issue. By an accident in the placing of the blinds, the tow groups of mounted dragoons ended up on opposite flanks. This was not their commander’s intention, but all agreed to leave it as is. Apparently an order went astray or was misunderstood.
This meant that these two groups could not make a formation and left one right on the road to the bridge, the other on the extreme right of the French line.
The Dragoons on the road suffered quite a bit of fire from the rifles before it charged down upon them. The rifles were caught by surprise and one group was cut down leaving only a single riflemen to run off in terror. Worse than that, our Hero Devon Kellogg was grievously wounded and would play no further part in this fight. The Irishmen however, resisted the charge. They were poor troops but their superior numbers held out and the horseman were bounced back.
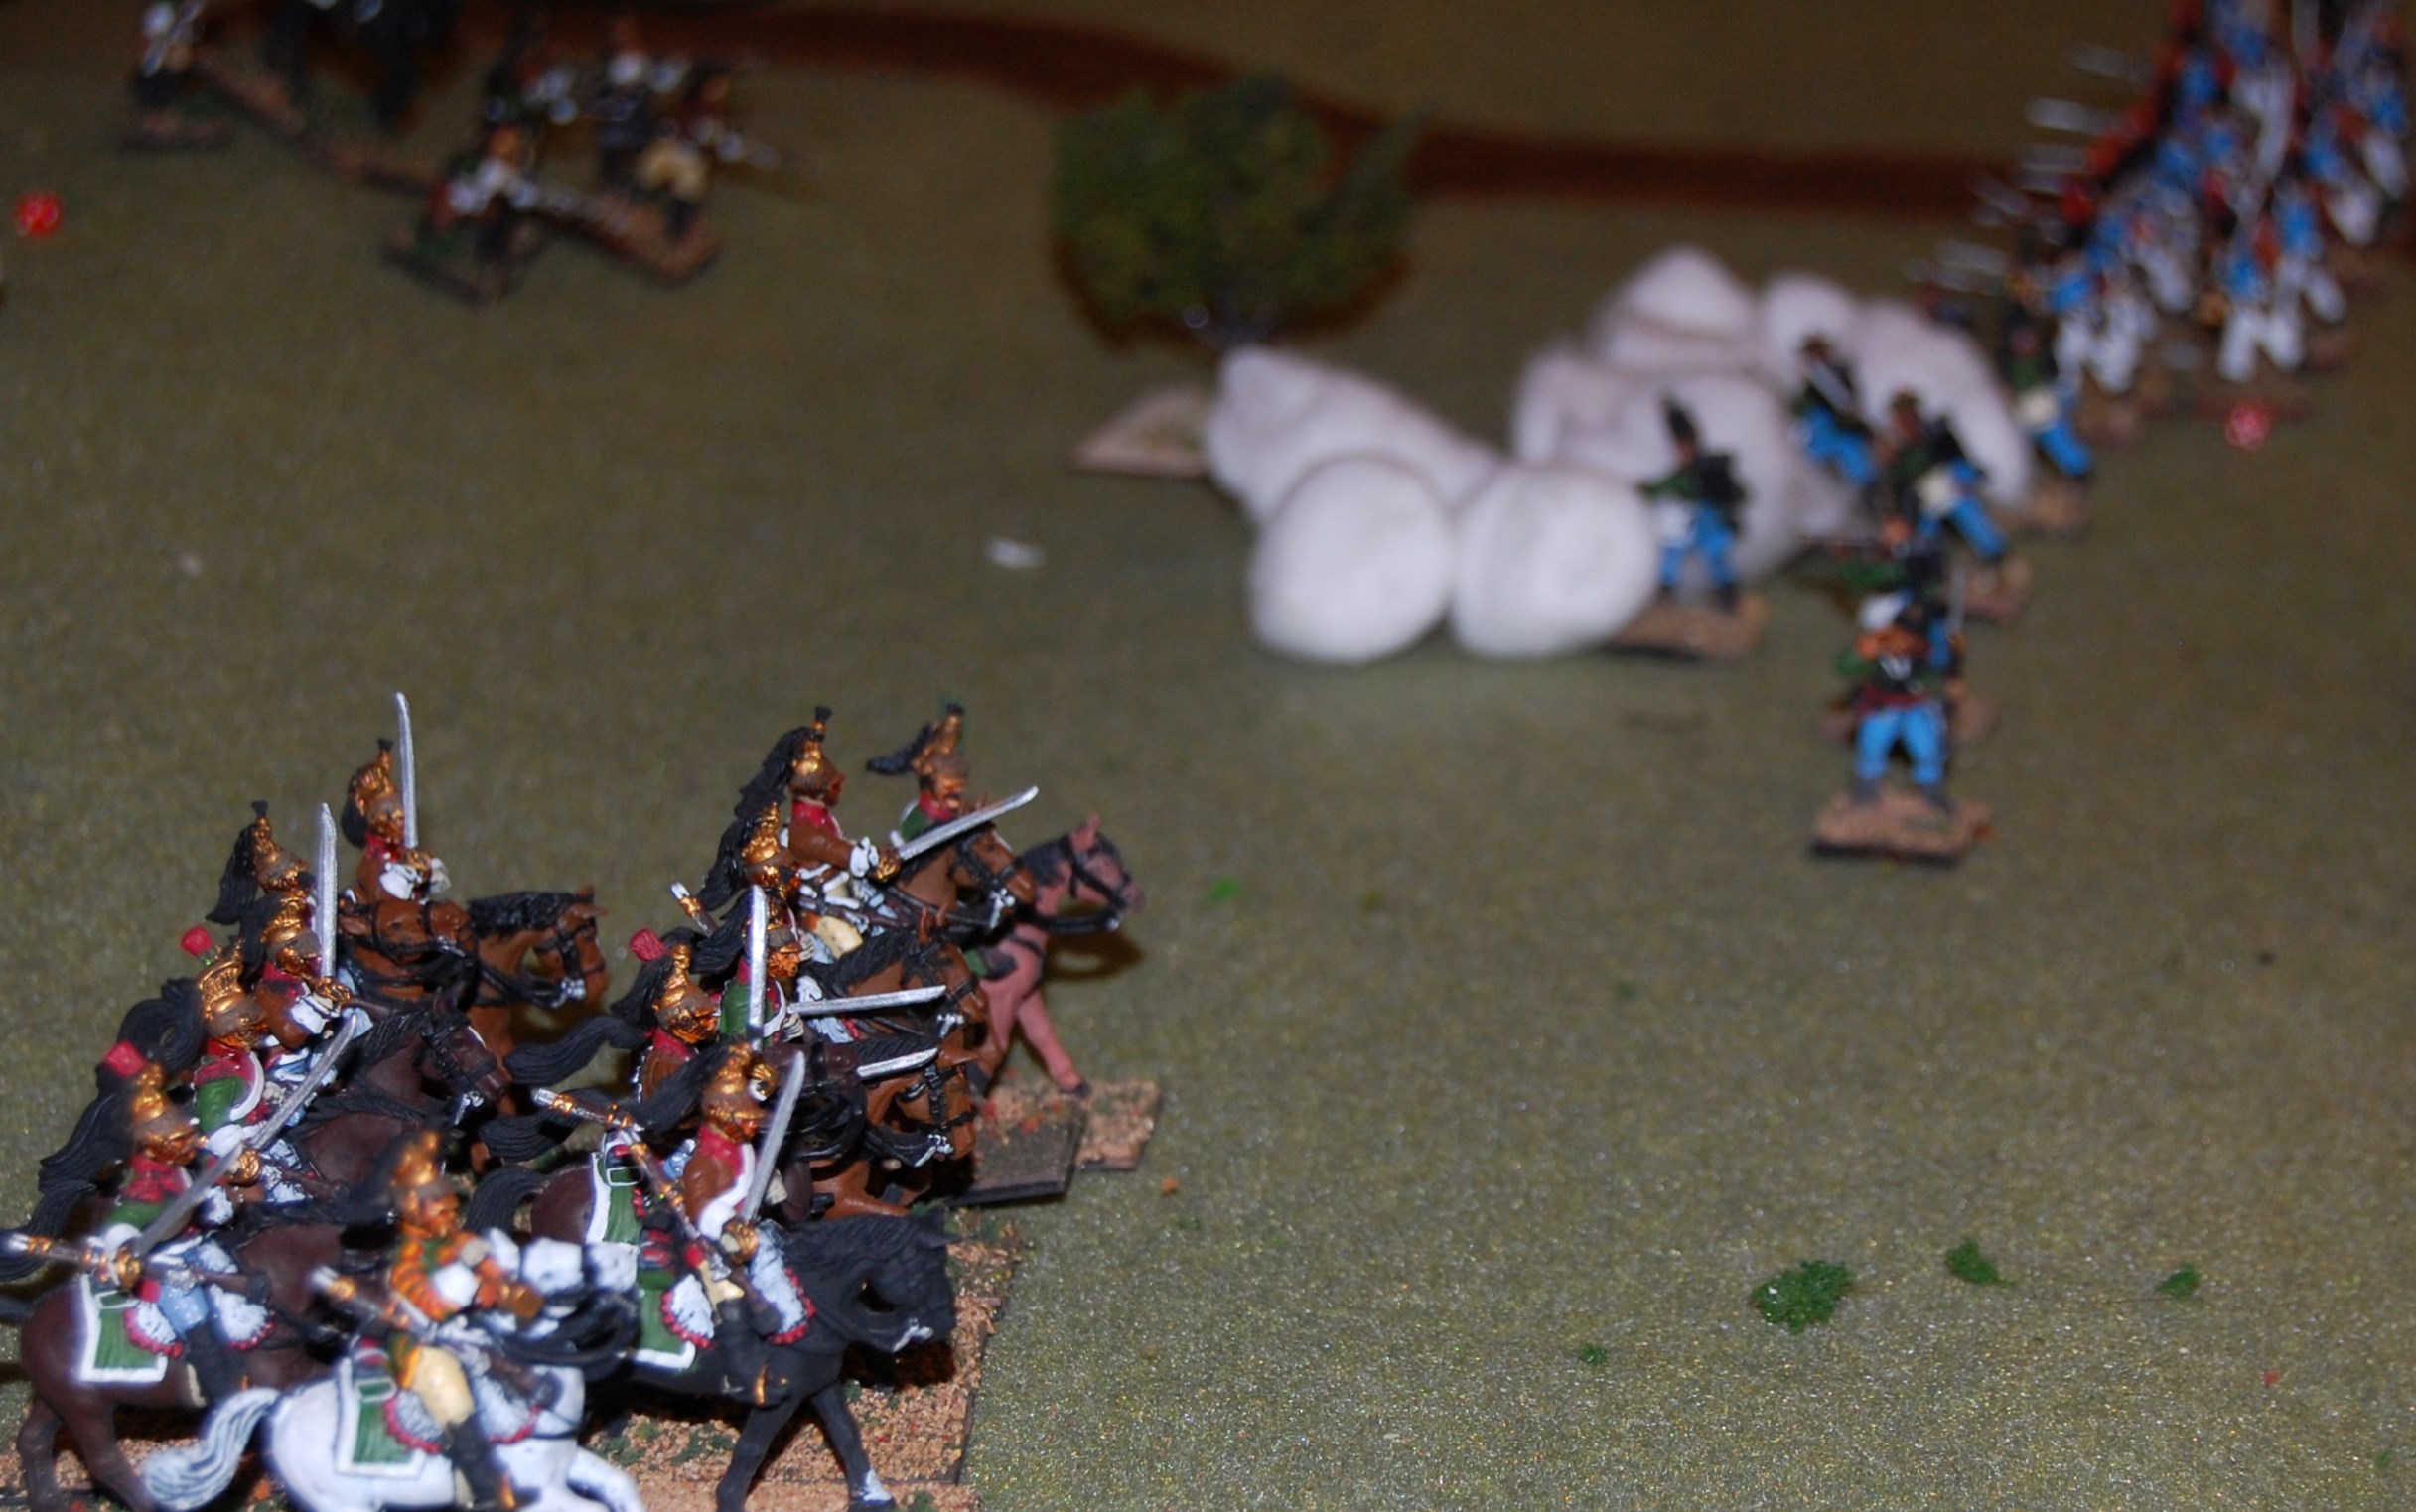
A very similar situation occurred upon the other flank. Here France’s big man Sergeant Martin charged forward on to another group of riflemen who again suffered badly. Seeing the danger earlier, Major O’Higgins had brought his reserve off the bridge and raced over to form a line behind the rifles. This action saved the day. The defeated rifles ran but again the superior numbers of the formed Irlanda stopped the dragoons saving the Spanish flank. the fight this time was not decided for three rounds and that wing of the Dragoons had lost to many men to continue.
The game ended as an Allied victory and all the participants were pleased.
I consider all three games a success though perhaps the other two a little more than this last one. By this time I was tired and I haven’t played Sharp Practice as much as I have played Chain of Command. I think that showed. I need to play more of this rule set
One final note, I had the unexpected pleasure to meet Joseph Legan author of Platoon Forward and fellow blogger http://platoonforward.blogspot.com/ Looks like we might get together for some games as he lives in the area. Such a small world.
Cheers,
Ron
