As any of you Lardistas out there are well aware Too Fat Lardies has recently released the new and improved version of Sharp Practice. My copy having arrived last week I have been elected to run my club’s game this week. With that in mind I thought some practice with the new rules might be in order!
I am a fan of the old rules and a confirmed Lard Islandaphile, so of course I have been right with the throngs waiting for the new revision. I have not been disappointed!
The new rules have been simplified and made more efficient. The original card system has been replaced by a simpler one where cards or chips may be used. Instead of several different cards being needed to play, now there are only the Leader cards and a hand full of command cards. These cards fulfill the role of the Grasp the Nettle cards, the Sharp Practice Cards, as the various National Cards as well. You simply decide how to use the command cards. This is a very elegant idea which is also readily expandable and adjustable. Now I don’t need my War of the Roses Cards, I just need to assign command card costs!
The Blind system has also been replaced by the smoother Deployment system. Similar to the Jump Off Markers in Chain of Command but with no Patrol Phase to place them. There are fewer of them in Sharp Practice nor are more needed. An interesting option is the Movable Deployment Point and its dummy cousin which allows for the same trickery found in the old blind system.
Enough on this though. It was not my intention to write a review. I will leave that too others. This is supposed to be a sort of After Action Report!

So, I began by laying out scenery on my friends table. Like everything at the “Grove” except hospitality, the table is small. About 3″ x 4″ small. Sharp Practice recommends a table of at least 4″x 6″ for 28mm games and this table size was going to matter quite a bit.
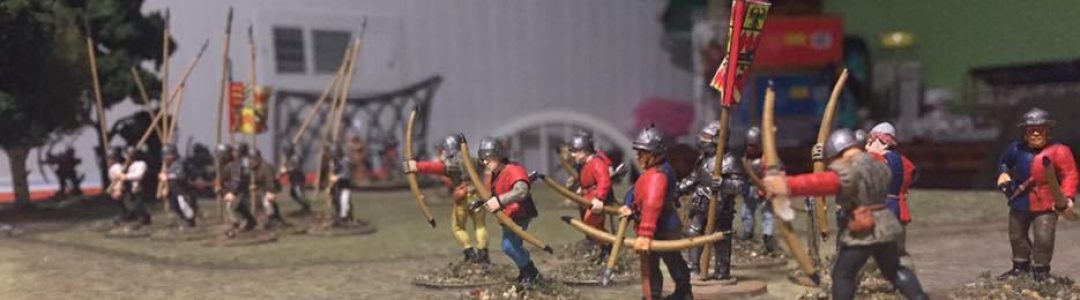
I have been building my Sharp Practice forces by following the adventures of Richard Fondler as described in another Too Fat Lardies product, The Compleat Fondler. Because of this I presently have rather large number French Dragoons, a sizable body of Irish serving Spain and of course some Rifles and Light Infantry. My Voltigeurs are awaiting painting and in many cases assembly on my lead mountain. Providing British forces would be easy. I simply followed the base list for a Light Column though 8 of my 60th Rifles marched as a line company with the other light Bobs.
The French forces would be made up of almost entirely of mounted dragoons. There is no list for this but no matter. Not very long ago there were no such creatures as Too Fat Lardies Army Lists! Actually what I did is followed the Support Points guide in the army lists to build a force. I included two groups of eight dismounted Dragoons because I was concerned about the usefulness of horse in such crowded terrain. I would have used more but it is all I have!
I used the system provided for in the book to create scenarios. It is useful enough but I do fear that it might prove a little stale with repetition. This is a concern, but not a grave one as I think it is an easy enough matter to repair. I rolled for Escort duty. Well that settle matters. I assigned the mission to the French, gave them a Mounted Officer to escort, (because my new mounted civilian isn’t painted yet) and suddenly it made sense that they were mounted.

The choice of this scenario on such a small table created a problem though. The scenario allows the escort to deploy and have one to three free turns. The French rolled three. Three free turns at the cantor could see the General across the table before the British arrive! I decided to allow the free deploy but not the free moves.

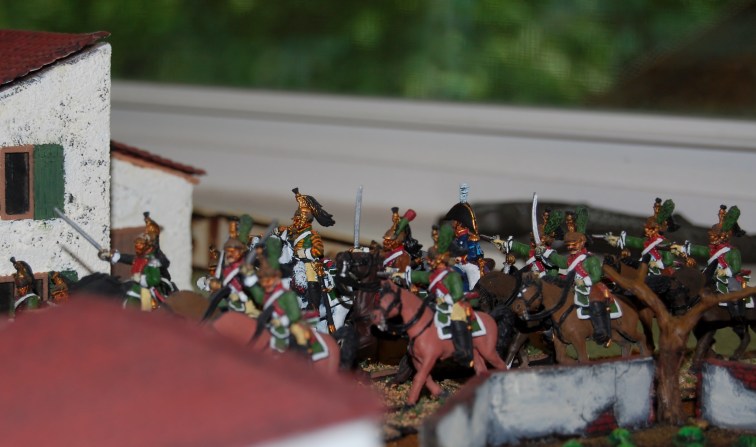
So the French Began to move into town. Dismounted Dragoons on the flanks, the mounted in open column on the road. Every one at the walk.
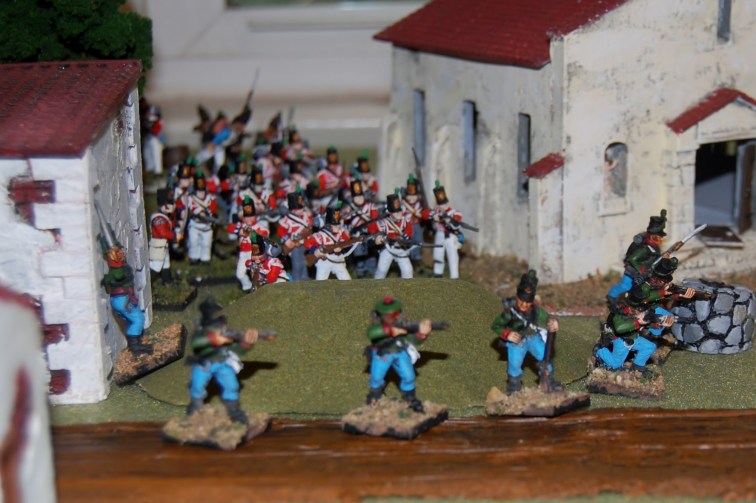
The British, on the other hand, deployed mostly out of site behind the village church. One group of 60th acting as a screening force was visible. Even more so was the smoke of their Baker rifles as they fired upon one of the dismounted groups of the 4th Dragoons. By luck they wounded the leader who was only status I and not really in a good position with his two groups anyway. This was due to a “firing Random Event” another system greatly improved upon in the new game.
By placing his groups on either side of the road they could not be in formation and even without the wound the leader needed a command card just to activate both groups. Now he was level 0 and need to used command cards for any activation. His command remained inactive until very near the end of the battle.

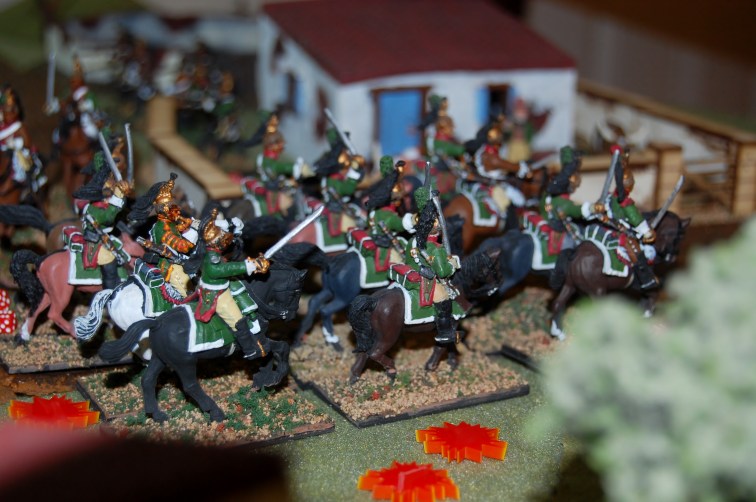
The French Captain brought the Dragoons forward and reformed them into an Attack Column, Charging at the 60th, unaware of the danger waiting just out of view. This action would prove foolish and reckless. Light infantry have the ability to evade for 2d6. Taking this opportunity prevented the Dragoons from bringing their charge home. Then came a very unlikely event.
One concept kept from the original game is the “Tiffin” card. the Tiffin brings an immediate end to the turn. Certain moves with unactivated units then occur. This is still the case though now the number is limited by remaining unclaimed command cards. What is different is the “Chapter End”. When ever the first card drawn of the new turn is again the Tiffin it is Chapter End. This represents a lull in the action and is very similar to the concept of turn End in Chain of Command. I am sure however, that it will be easy to teach the concept to beginners than the Chain of Command terminology is.

All I could imagine is that there was some sort of argument, some attempt to get the Officer past the town by diplomacy, but of course it failed. After some succesful shots by the 60th, the Light Bobs rushed forth unexpectedly, and gallantly charged the now stationary horsemen.

The fisticuffs went very badly for the 4th. The Captain was wounded, both of the Dragoons groups involved received tremendous shock.
One of the tricks one can perform with the command cards is that with four, you can interupt action and give a Leader a bonus Activation. The British now did this, with the Light Bobs following up their previous assault The leading group broke and raced right through its support causing them to break as well. The French morale dropped by 50% in this one fight!
The French were not done however. Their second in command rushed in hoping to buy time while his commander recovered from his stupor.
Hoping that speed would make the difference, the Lieutenant raced in. He fought bravely but this time simply due to luck (a great roll by the British and miserable one by the French) they were again defeated and broken…and yet again a French leader was unconscious!
At this point the Dismounted Leader finally got some command cards and began to move back and hold some positions. The force morale and plummeted and one of the French command cards was pulled from the mix. The French officers eventually awoke and began to try to deal with the worst shock I have seen in any Too Fat Lardies game all the while while receiving withering fire from their enemy.
And then disaster, for the second time in the fight, the chapter ended. One of the things that happens at this time is any broken unit that is still broken routs, as well as any officers attached to them. Four groups and a Leader III and Leader II was more than the French could take. Honestly their wasn’t enough to fight with any way, but the battle was over. A force morale score of 0 saw a complete French rout!
So, just for interest sake, I tried a second fight of the exact same scenario and build. This time I allowed the three free moves the French had originally rolled. In this game, because of the size of the table, great move rolls by the French and the fortune of the cards, the Officer being escorted was 2″ from the table edge and safety and my Deployment Point was nearly taken before a single British group was deployed. Obviously on this little table some balance will be necessary. I also am convinced that I have far to many Dragoon figures for Sharps Practice.
I remain your Humble and Obedient &c.
